


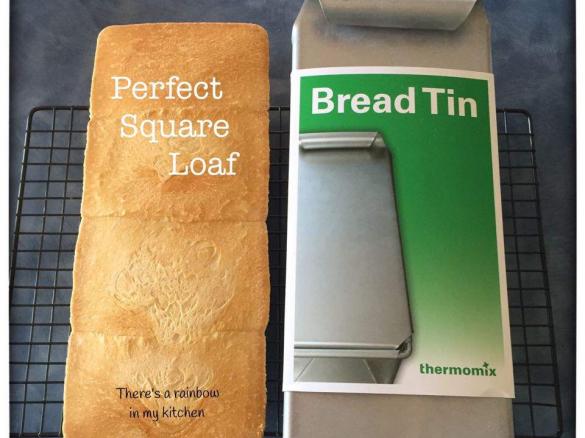


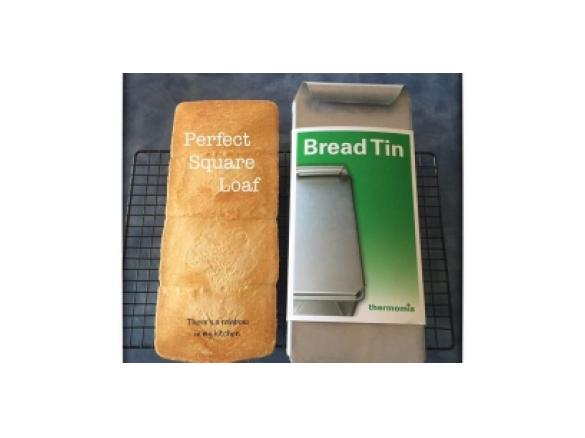


Ingredients
Dough
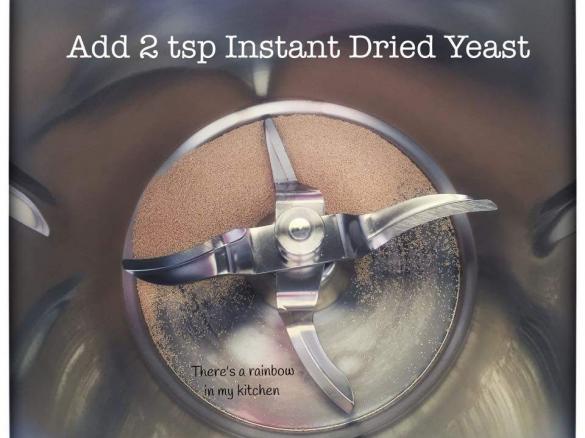
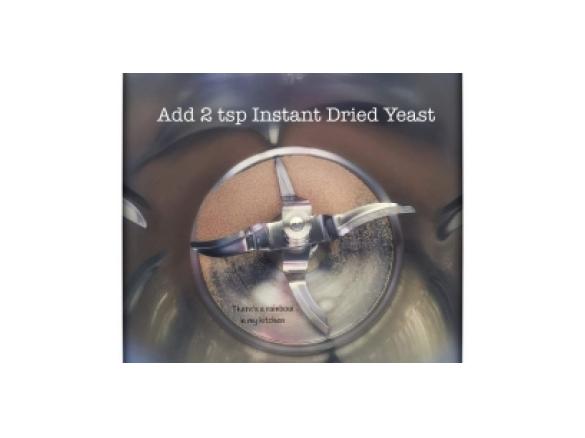
- 2 teaspoons Instant dry yeast
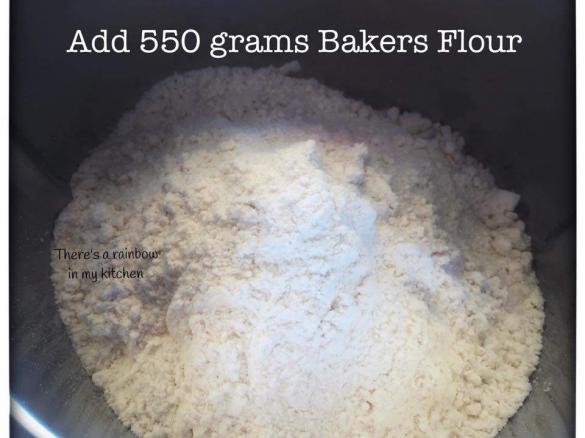
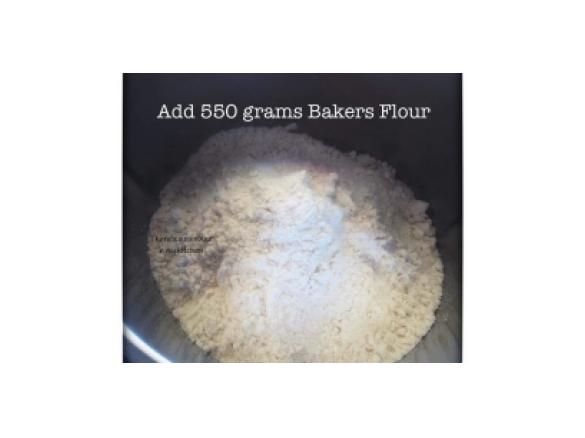
- 550 grams bakers flour, Bread Flour
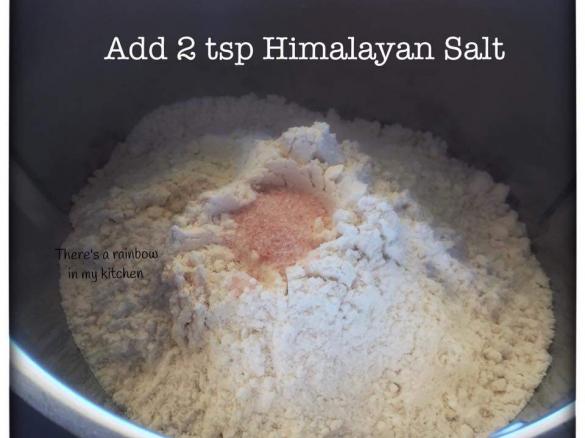
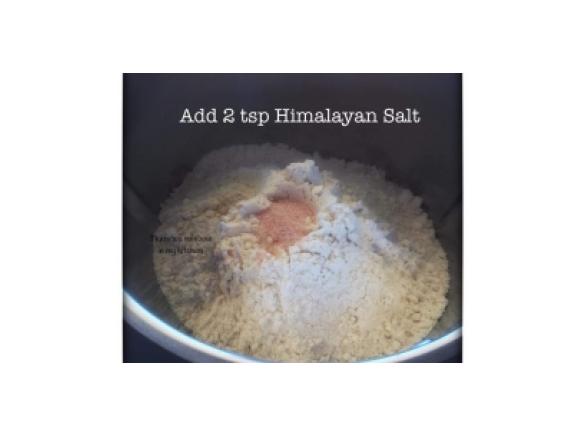
- 2 teaspoons hymalayan salt, or any salt
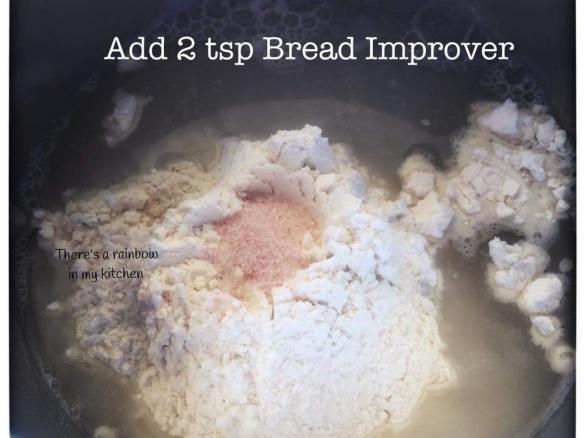
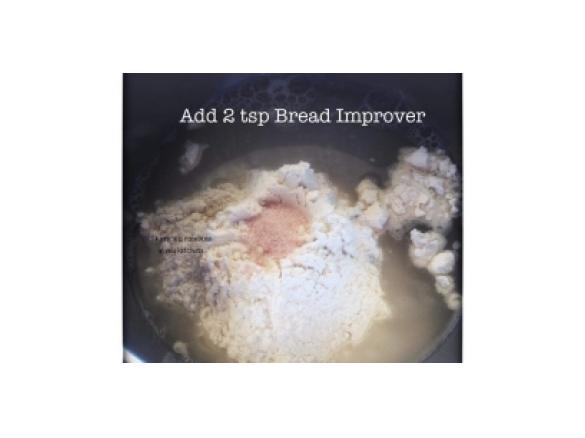
- 2 teaspoons Bread Improver (Optional), *See Notes
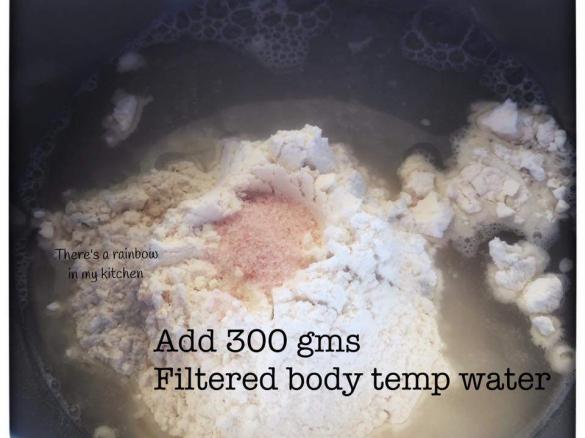
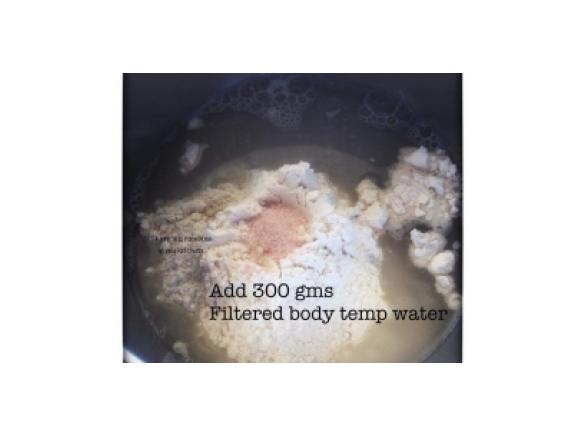
- 300 grams Filtered Room Temp Water, Tap is fine
Accessories you need
-
 Spatula TM5/TM6
Share your activity
I'm cooking this todayRecipe's preparation
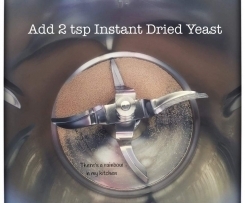

Add 2 teaspoons of instant dried yeast to the mixing jug.
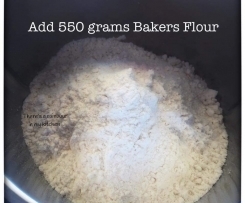
Add 550 grams of bakers flour on top of the yeast.
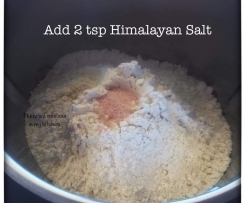
Add 2 teaspoons of salt to the flour.
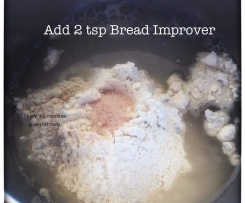
Add 2 teaspoons of bread improver to the flour *or skip this optional step.
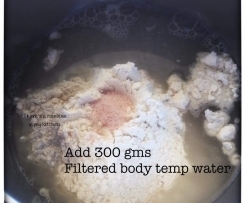
Add 300 grams of filtered, room temp water to the flour mix. Tap water is fine if you dont have filtered.
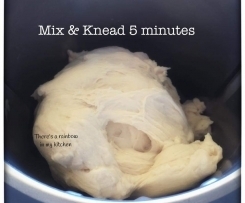
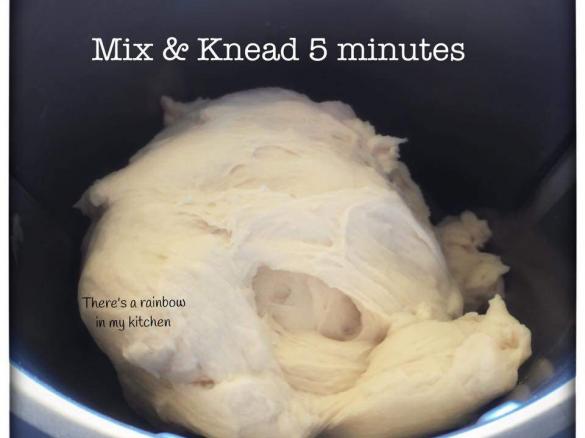
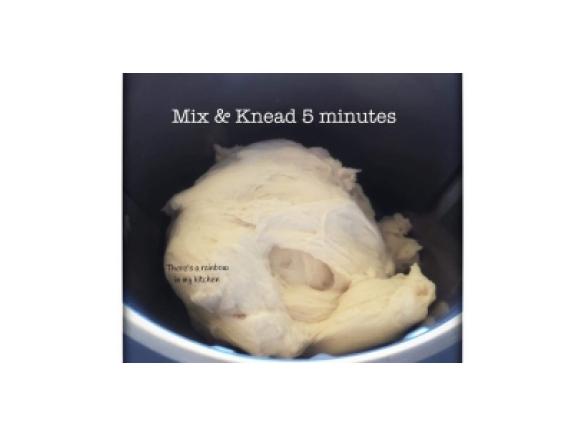
Set time for 5 minutes and use the dough function
 "Dough mode" to mix and knead the dough until all the flour has come away from the sides and combined into the dough ball.
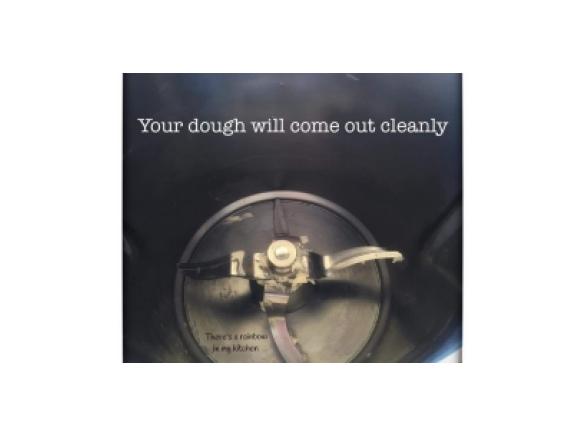
Your dough should come away from the bowl easily with out leaving much on the blade at all. If your dough is sticky add another 20 grams of flour and knead using the dough function
"Dough mode" a further 2 minutes.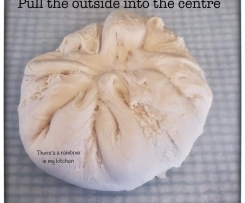
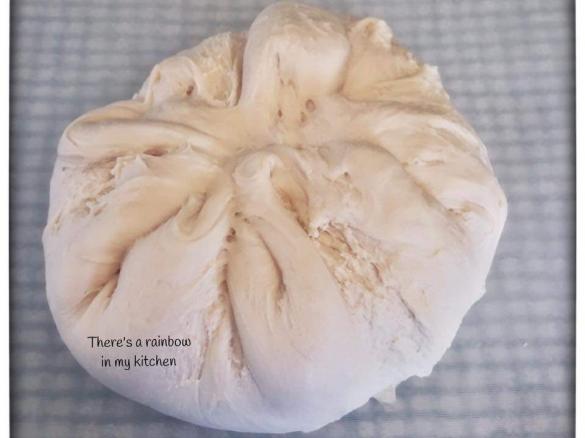
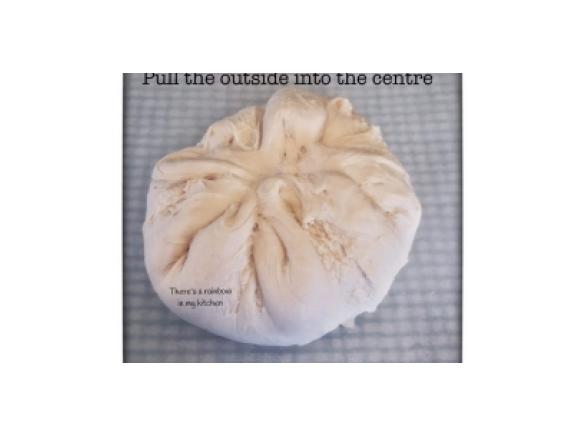
Place your dough onto the thermo mat or into an oiled bowl. Pull the outside of the ball into the centre working your way around the ball and poking the dough into the center.
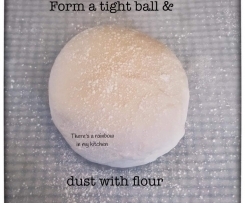
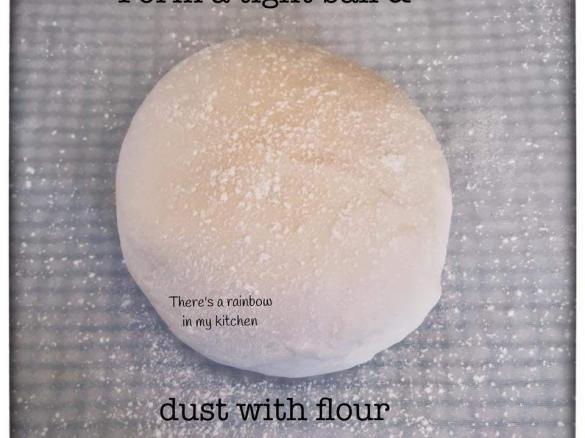
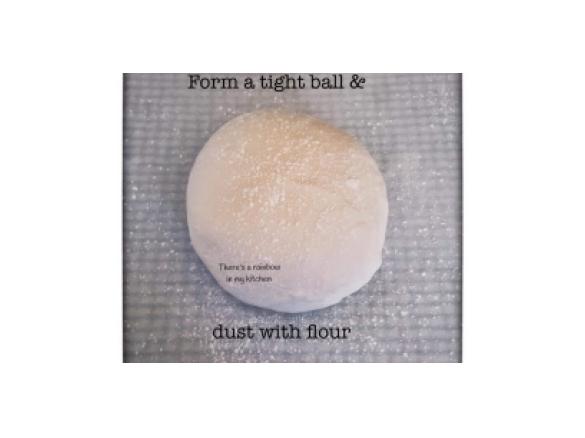
Form a tight ball and dust with a little flour.

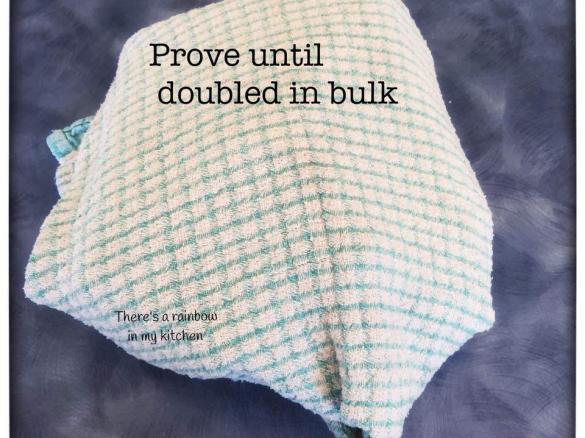
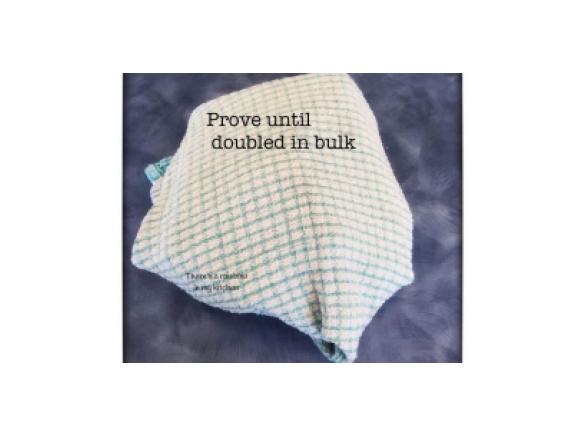
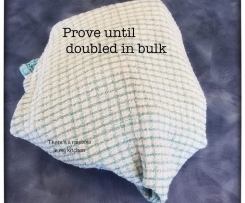
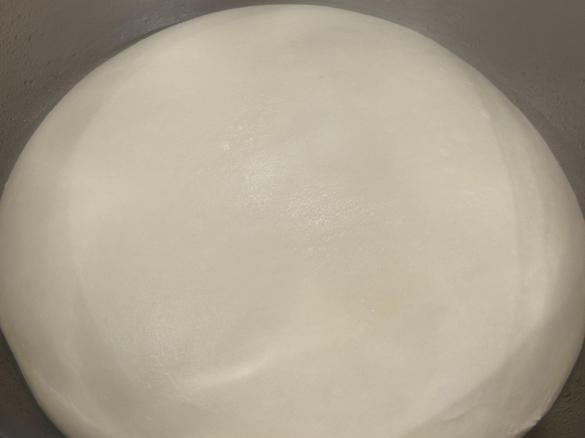
Wrap your dough ball loosely so it has room to double in bulk while proving. This can take anywhere between 20 minutes and an hour depending on the temperature of the day or night.
Keep out of draughts and place in a warm spot to prove. I don't excellerate this process with extra heat. I let the yeast activate slowly to develop flavour. On the bench is where my dough spends this time.

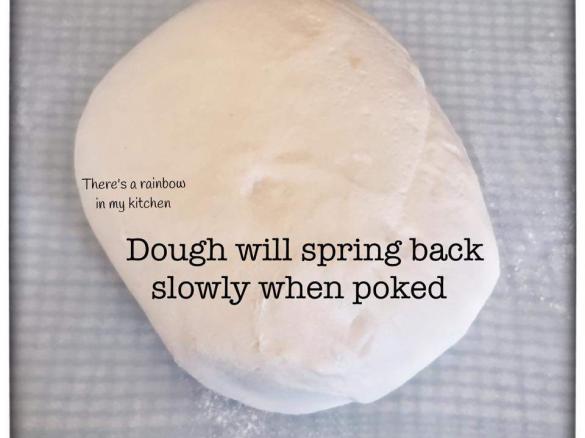
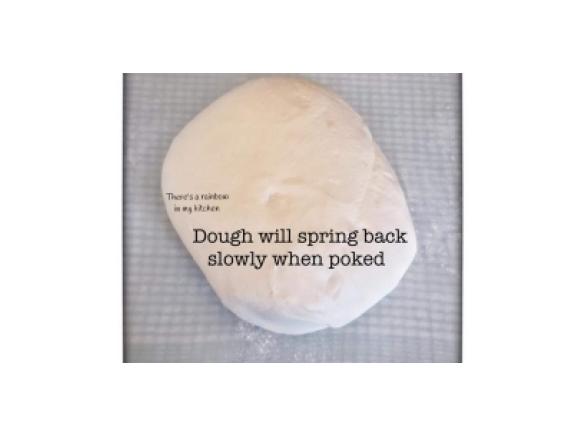
Unwrap the dough and it will be ready to shape when the indent slowly disapears when poked. If the indent disapears quickly, your dough needs longer to prove.

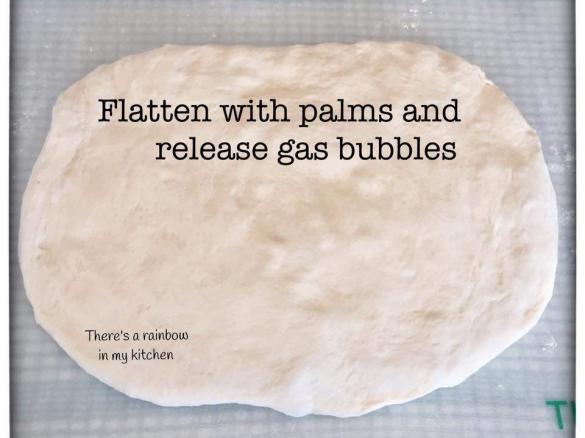
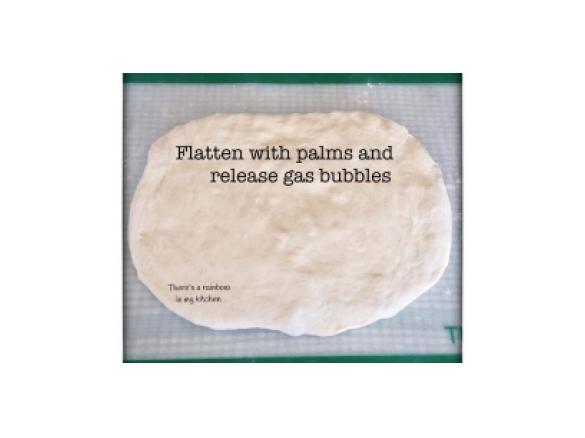
Flatten out and release the gas bubbles that have formed. This is also called knocking back or punching down.
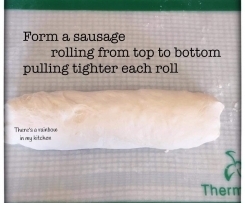
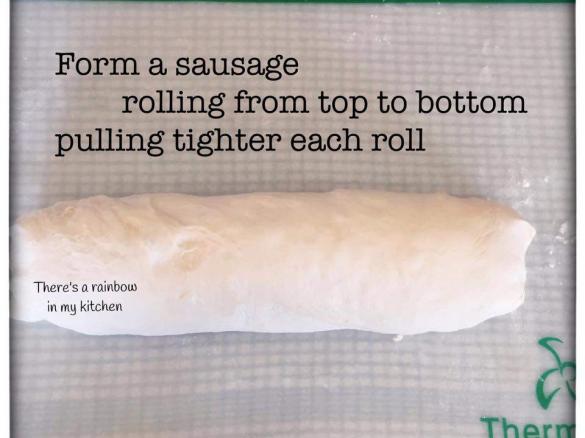
Form a sausage by rolling the dough in a scrolling motion from top to bottom and pulling the dough tight with each roll. At this point you can tuck the ends under and place into the tin or proceed with the next step.
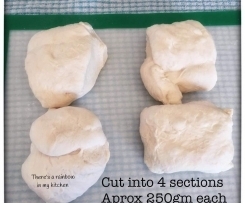
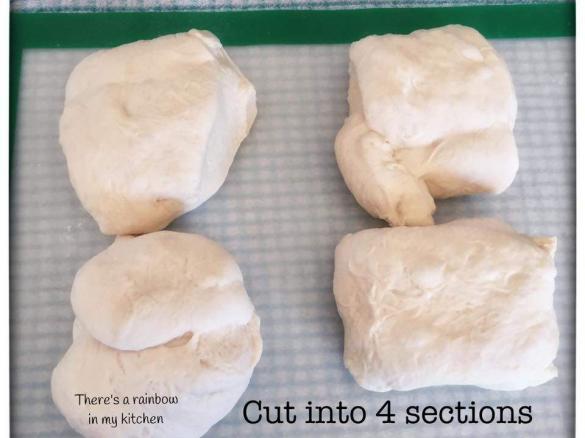
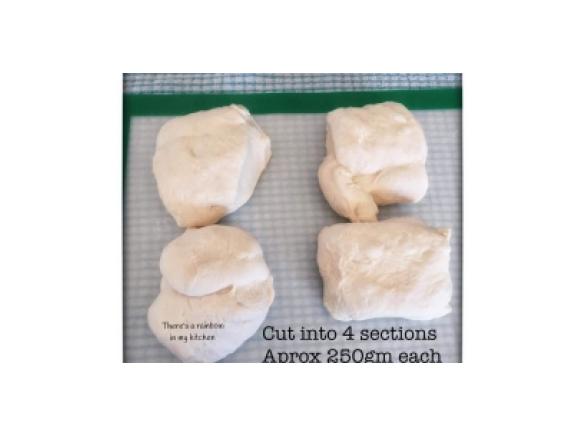
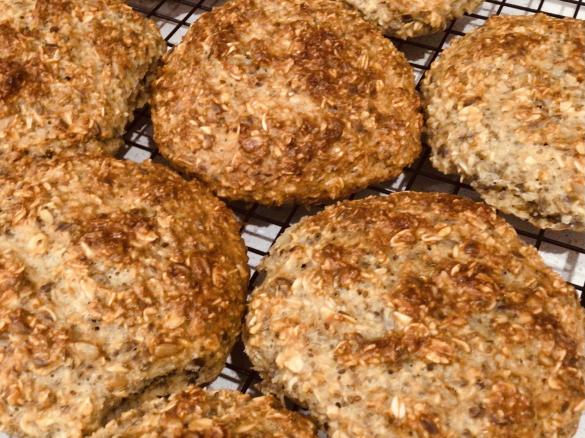
Divide the dough into 4 equal pieces. I weigh them with the thermomix scales to get them to be a uniform weight.
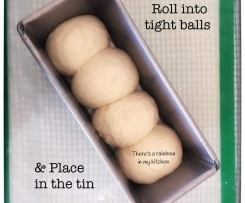
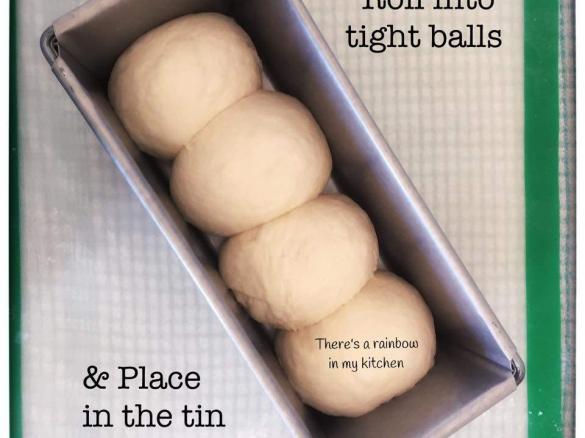
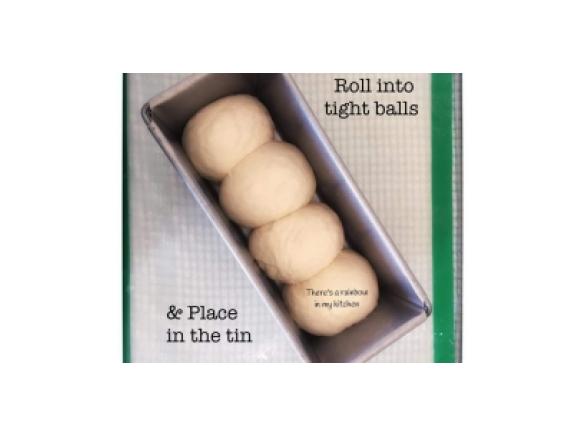
Roll into tight balls and place evenly into the bread tin.
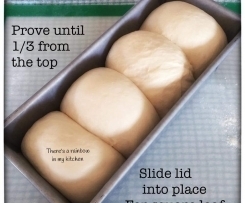
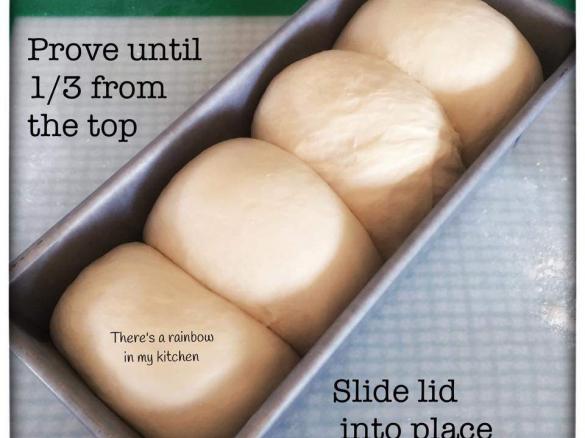
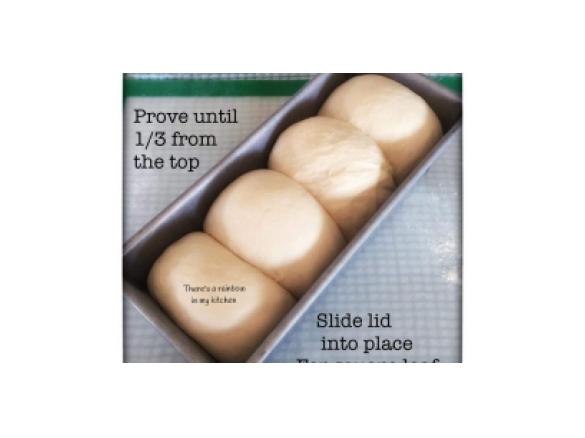
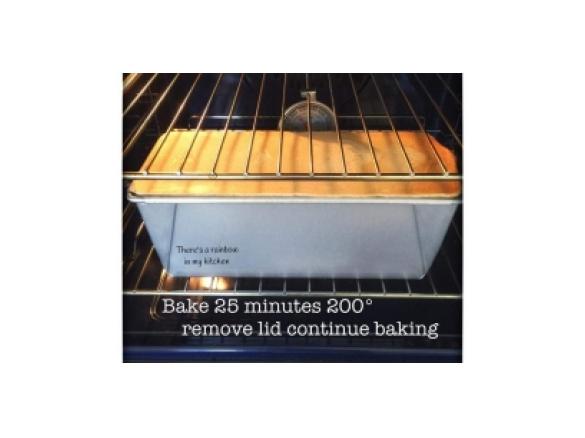
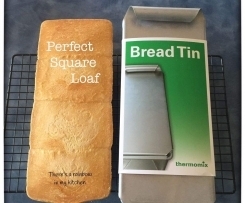
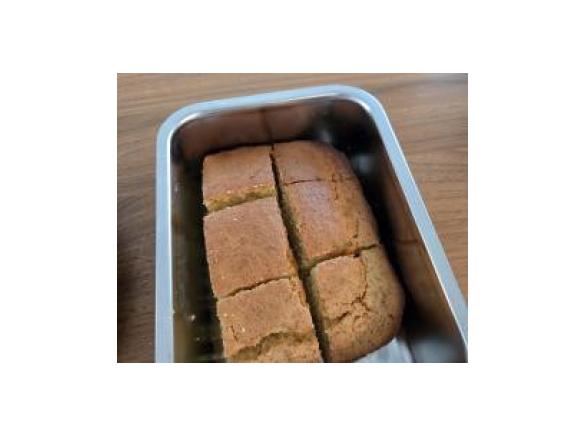
Cover in plastic wrap or a damp tea towel and prove for again until double in size or 1/3 from the top edge of the bread tin. Again this can take between 30 minutes to an hour depending on the temperature. I place my tins into a cold oven so they wont be disturbed. When proving is complete remove from oven to pre heat it. Slide the lid on for a square loaf or leave it off for a fuller fancier bread top.

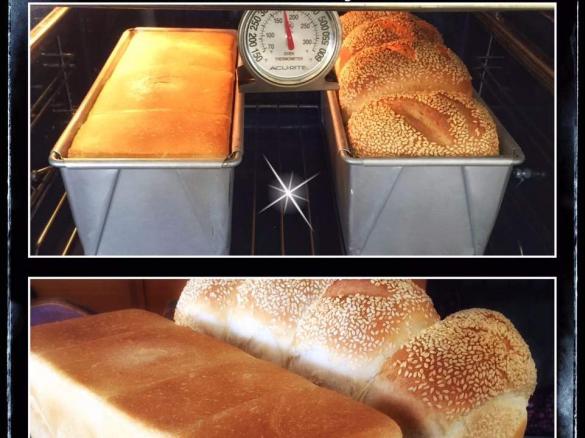
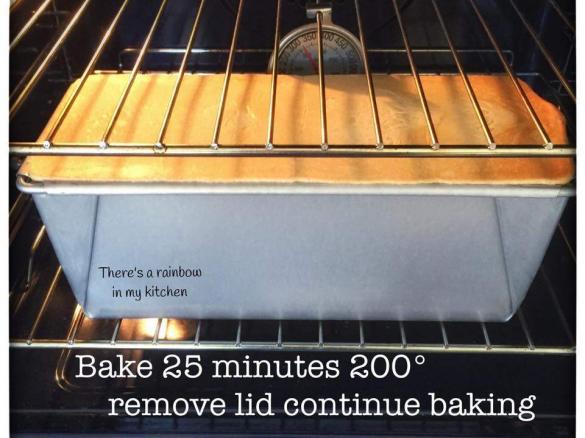
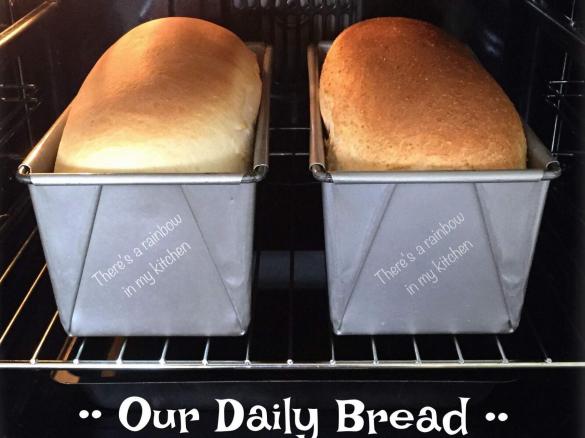
Place into your oven set at 200 degrees and bake for 25 minutes. At this point your lid should slide off easily. If not the bread isnt quite ready for the lid to be removed so leave it for another 5- 10 minutes and try again. Continue baking until golden brown. Time really depends on the size of the oven and how much you have baking in the oven and ingredients can alter this too.
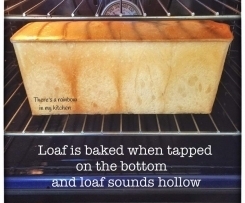
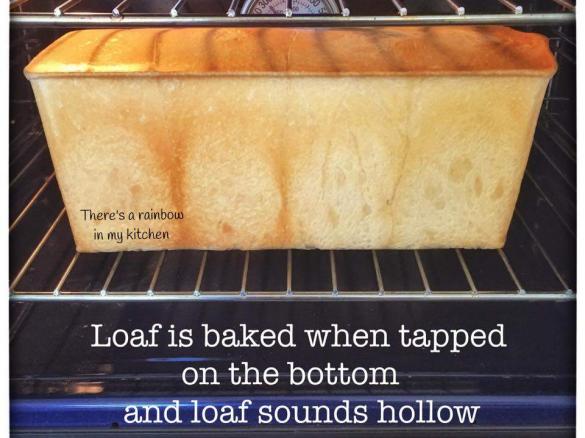
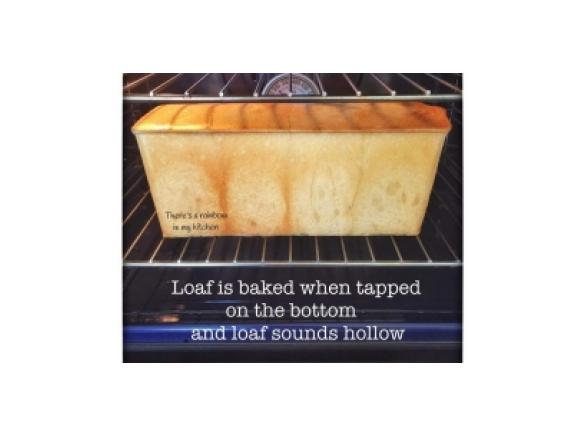
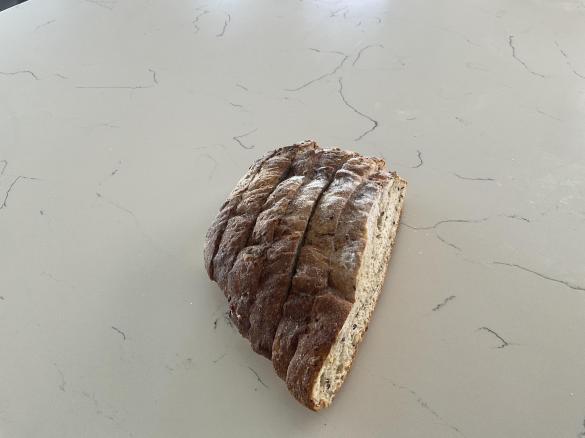
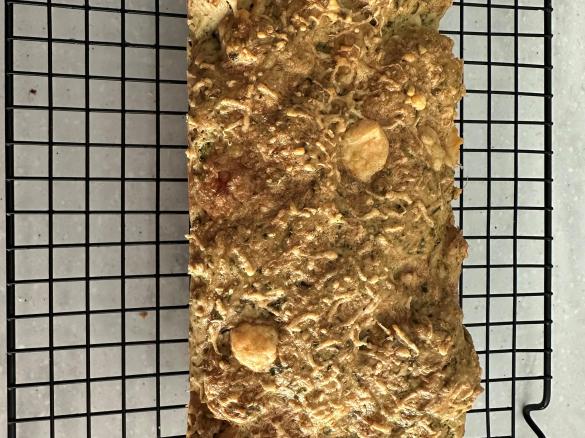
The loaf is baked when you can smell that fresh baked bread smell in place of the hot yeasty smell that comes before the bread has completed baking. Tip the bread out of the tray and tap the bottom and listen for the hollow sound.
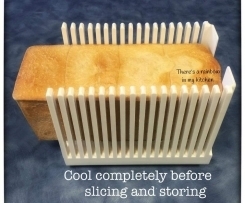
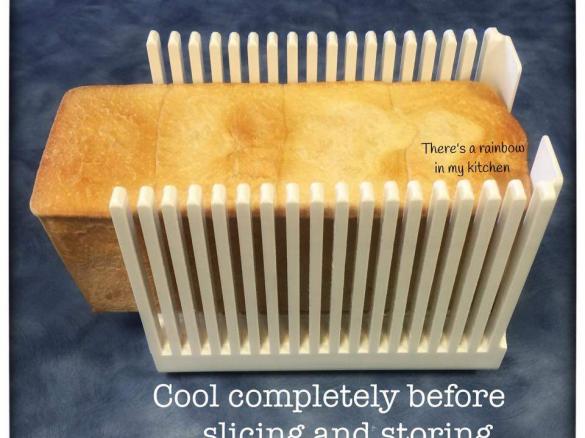
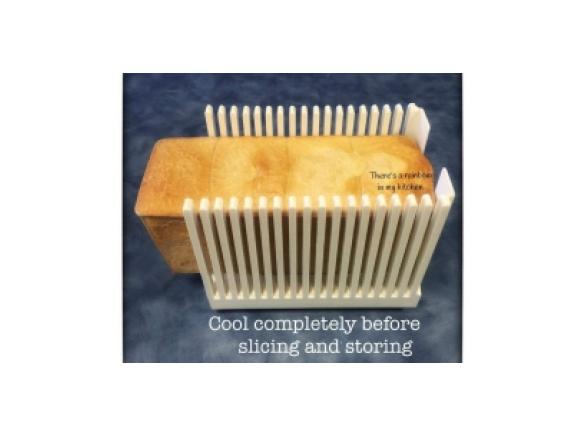
Cool completely before slicing and storing. The longer you leave the bread to cool the easier it is to slice.
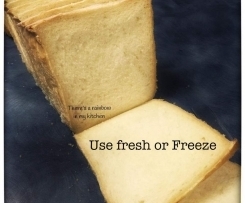
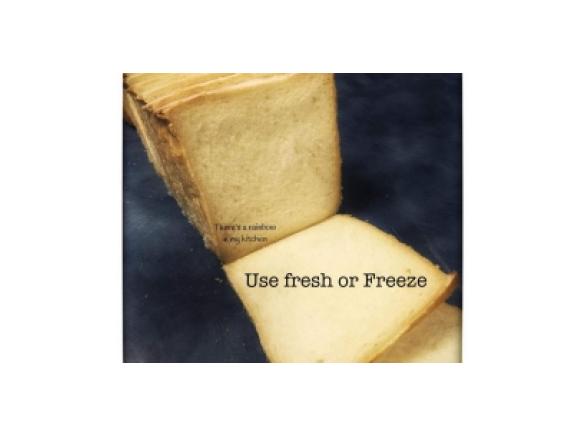
Store the bread to use fresh or freeze it for later. Always slice before freezing so you can just take out a little or a lot at anytime from the freezer.
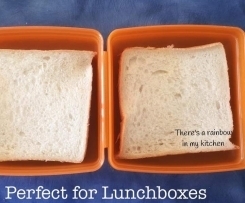
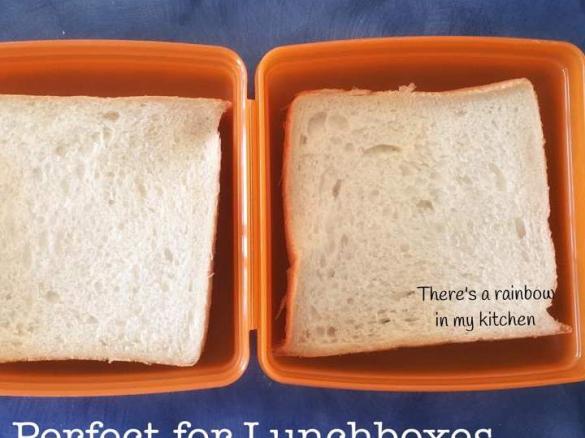
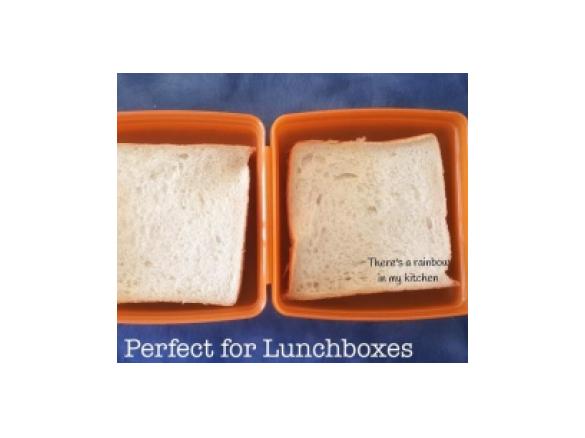
Perfect sized bread for sandwich lunchboxes.

Perfect size for toast.
//www.thermomix.com.au/accessories-product-detail/?sku=5492

Tip
Bread Improver is an additive, it improves the fluffiness and shelf life of your bread. Read the label and do some research if you are concerned about this item. This can be omitted or replaced with a more natural alternative such as 2 teaspoons of fresh lemon juice or 2 teaspoons of apple cider vinegar.You can purchase Bread Tin products here >> //www.thetmshop.com.au/search?type=product&q=*loaf%20tin*#_l_86
Thermomix Model
-
 Recipe is created for
TM 5
If you are using a Thermomix® TM6 measuring cup with your Thermomix® TM5:
For cooking (simmering) at temperatures of 95°C or above (200°F), the simmering basket should always be used instead of the TM6 measuring cup, as the TM6 measuring cup fits tightly in the lid. The simmering basket rests loosely on top, is steam-permeable, and also prevents food spatter from the mixing bowl.Please note that the TM5 mixing bowl has a larger capacity than the TM31 (capacity of 2.2 liters instead of 2.0 liters for TM 31). Recipes for the Thermomix TM5 may not be cooked with a Thermomix TM31 for safety reasons without adjusting the quantities. Risk of scalding by spraying of hot liquids: Do not exceed the maximum filling quantity and observe the filling level markings of the mixing bowl!

This recipe was provided to you by a Thermomix ® customer and has not been tested by Vorwerk Thermomix ® or The Mix Australia Pty Ltd and The Mix New Zealand Ltd.
Vorwerk Thermomix ® and The Mix Australia Pty Ltd and The Mix New Zealand Ltd assume no liability, particularly in terms of ingredient quantities used and success of the recipes.
Please observe the safety instructions in the Thermomix ® instruction manual at all times.


Comments
Hi Ruth, just pulled bread out of oven can't wait to slice. Can I ask about yeast please - do you use the sachets? I have mine in freezer (tin) Love your step by step pics. Thanks.
This is a great recipe, thank you.
Tried for the first time and I had a very very slow process to prove the dough. Started at 8:30am and put it in the oven at 5pm.
The loaf didn't seem to rise during the cooking process. I cooked it in the Thermomix bread tin.
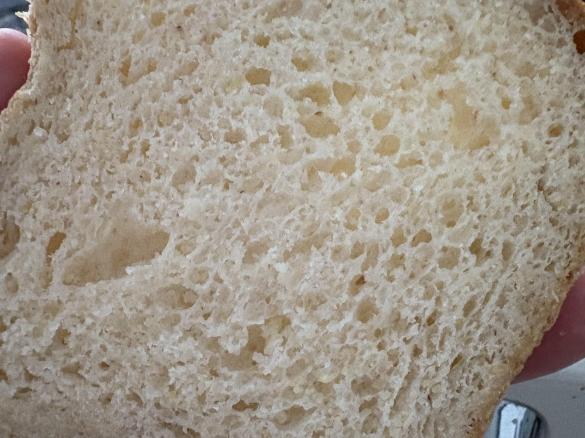
However, the taste is delish and it is a nice airy loaf, not dense at all.
My first attempt was a resounding success! Thanks for the step by step pictures, for me that made all the difference! I got a slicing guide but it cuts thick toast size, any recommendations for sandwich size slicing guides?
Made my first loaf of bread; just out of the oven 10 minutes ago and it is already half gone. My bread tin is one with a lid and my bread raised more on one end and got caught and I couldn't pull the lid off, so it over baked a little - not burnt just crust is hard. But practise, practice, practice - I will perfect this recipe. Thank you Ruth for sharing your recipe.
Just made this for the first time and it will definitely be made on a regular basis. Couldn’t wait for it to cool down so had a warm slice lathered in butter and it was delicious.
dinimm:
Very happy with the way this has turned out. Look forward to cutting it.
I've just come across this recipe and am going to go start it right now!") Have you (or anyone else) ever tried adding chia seeds? Just wondering if you would need to adjust the water content? Thanks.
Have you (or anyone else) ever tried adding chia seeds? Just wondering if you would need to adjust the water content? Thanks.
This is the BEST recipe out there! I have tried so many and they never work!! This recipe guarantees the perfect loaf EVERY TIME. I recommend this recipe to my customers. Thank you so much for taking the time to provide photos and easy to follow instructions. What is the slicer that you use?
Love this recipe and especially the pics. We can't stop eating it!!!")
Hi Ruth,
Thanks very much for getting back to me. I'll definitely give that a go! I'm looking forward to trying it. I just made another loaf today and each time I do it, I think it turns out better.
Thanks again,
Nicole