

Ingredients
Ingredients
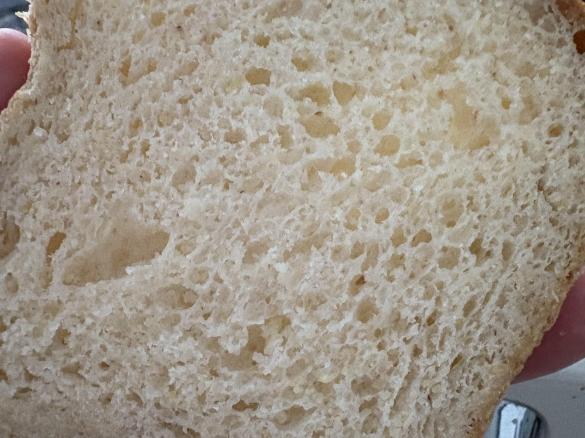
- 500g Gluten free plain flour, (or 400g GF plain flour and 100g milled buckwheat)*pictured
- 560g hot water
- 50g olive oil
- 1 heaped tablespoon of Honey
- 30g Gluten Free Baking Powder
- 2 heaped teaspoons Bicarb soda
- 20g xanthan gum
- 1/2 teaspoon Salt
Accessories you need
-
 Spatula TM5/TM6
Share your activity
I'm cooking this todayRecipe's preparation
1. Preheat the oven to 250 degrees (230 degrees if fan forced) and pre-heat the baking tray as well. (For safety; DO NOT heat the tray with baking paper on it.)
2. Add buckwheat to the mixing bowl and mill for 30 secs / speed 10. If not using, skip to step 3.3. Weigh all the remaining dry ingredients in the mixing bowl and mix 7 secs / speed 6.
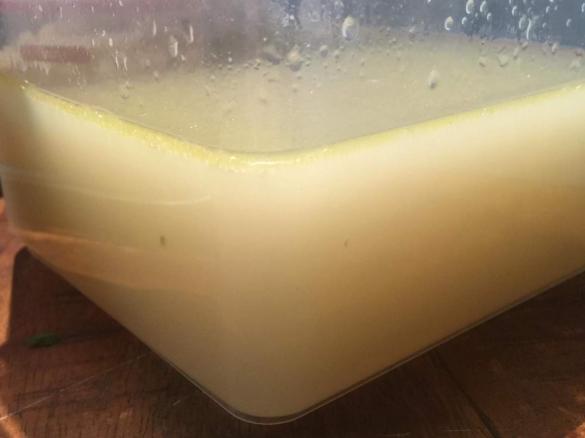
4. Add the hot water, honey and oil and mix for 10 secs / speed 6.5.
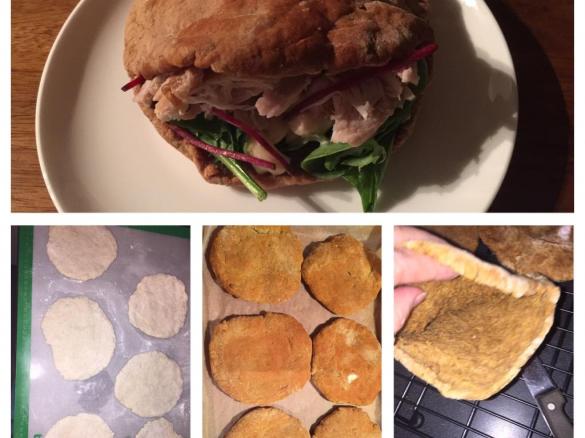
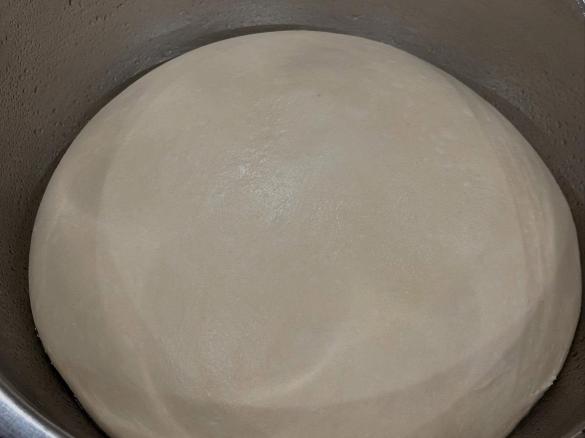
5. Turn the dough out onto your Thermomat or a clean and well floured board or bench, knead it gently into a log shape. Divide it into 12 equal sized portions with the spatula.
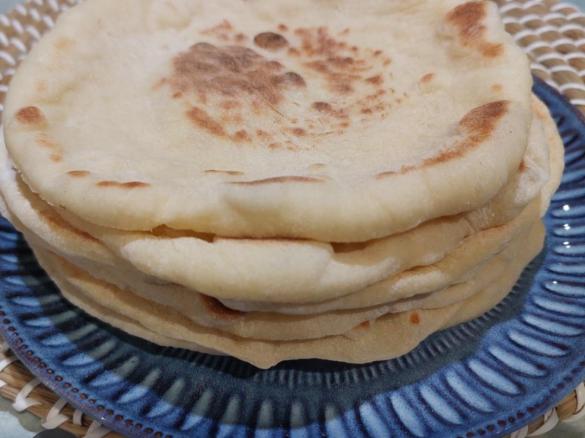
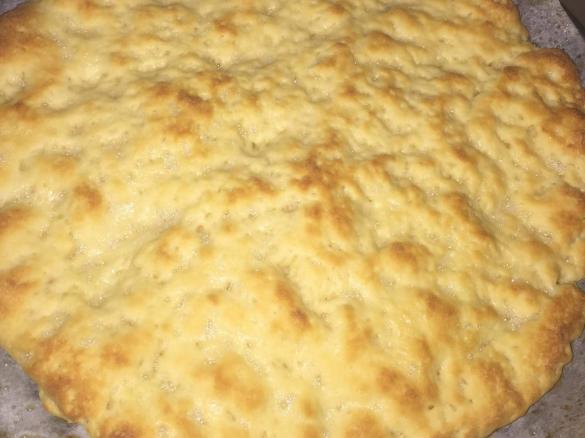
6. Roll or press each one out on the floured work surface into rough rounds about 5mm-thick.
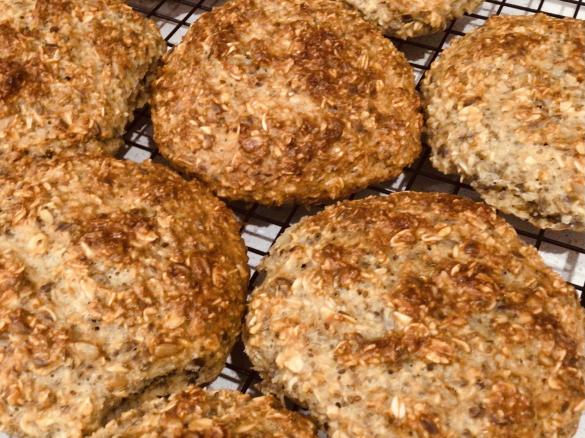
7. Place half the rounds on the preheated baking tray (add baking paper here if using), put them in the oven and bake for 8-10 minutes or until golden and puffed. Repeat with the remaining rounds.
NB: watch them closely towards the end of the cooking time as they do go quite golden, quite quickly.Cool Pita bread rounds on a wire rack.
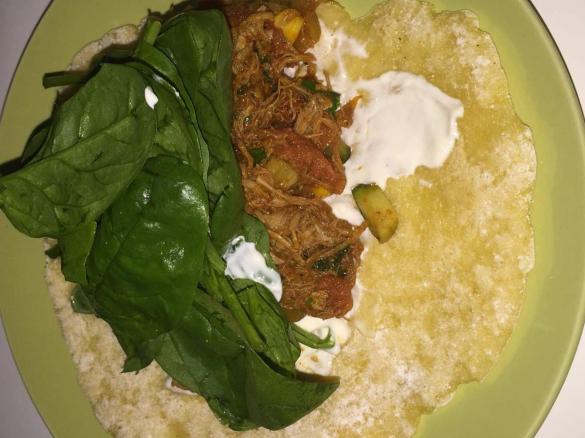
8. While still slightly warm, carefully use a small serrated knife to split the rounds open on one side and to make the pocket inside each one.
9. These last very well stored in a ziplock bag on the counter for a couple of days but if you aren't going to use them all in that time, I recommend freezing them flat in ziplock bags to maintain freshness.
Defrost fully to use as needed.
NB: this recipe is also size suitable for use with TM31 machines
Tip
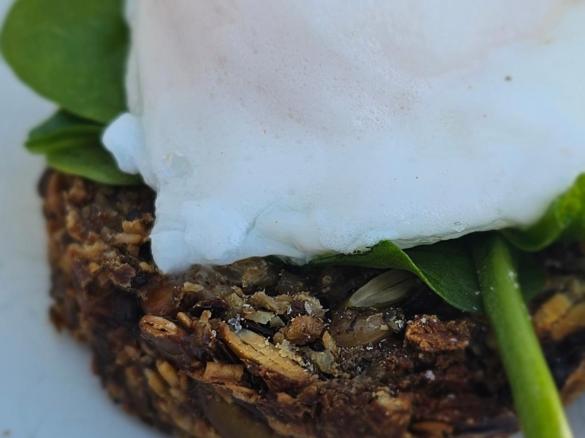
These little guys make brilliant toasties in the sandwich press!!
For easy, toasty work lunches in winter (sandwich press at work permitting!)
Fill as desired, wrap in baking paper and pop it into a lunchbox; when you are ready, all you have to do is put it into the sandwich press (preferably when its cold^) for a super toasty lunch from the fridge to your plate!!
^If the press has already been used and you want to ensure the filling is hot right through, microwave the pocket for 20 seconds before toasting it.
Thermomix Model
-
 Recipe is created for
TM 5
If you are using a Thermomix® TM6 measuring cup with your Thermomix® TM5:
For cooking (simmering) at temperatures of 95°C or above (200°F), the simmering basket should always be used instead of the TM6 measuring cup, as the TM6 measuring cup fits tightly in the lid. The simmering basket rests loosely on top, is steam-permeable, and also prevents food spatter from the mixing bowl.Please note that the TM5 mixing bowl has a larger capacity than the TM31 (capacity of 2.2 liters instead of 2.0 liters for TM 31). Recipes for the Thermomix TM5 may not be cooked with a Thermomix TM31 for safety reasons without adjusting the quantities. Risk of scalding by spraying of hot liquids: Do not exceed the maximum filling quantity and observe the filling level markings of the mixing bowl!

This recipe was provided to you by a Thermomix ® customer and has not been tested by Vorwerk Thermomix ® or The Mix Australia Pty Ltd and The Mix New Zealand Ltd.
Vorwerk Thermomix ® and The Mix Australia Pty Ltd and The Mix New Zealand Ltd assume no liability, particularly in terms of ingredient quantities used and success of the recipes.
Please observe the safety instructions in the Thermomix ® instruction manual at all times.
Other users also liked


Comments