

Preparation time
16h 0min
Total time
16h 30min
Portion
1
g
Level
easy

Ingredients
Dough
- 500 grams tepid water, See Tips
- 2 teaspoons dried yeast
- 600 grams bread flour
- 1 1/2 teaspoons fine salt
- flour for dusting, approx 1 cup
- Nigella, Sesame seeds for baking, Optional
Accessories you need
-
 Spatula TM5/TM6
Share your activity
I'm cooking this todayRecipe's preparation
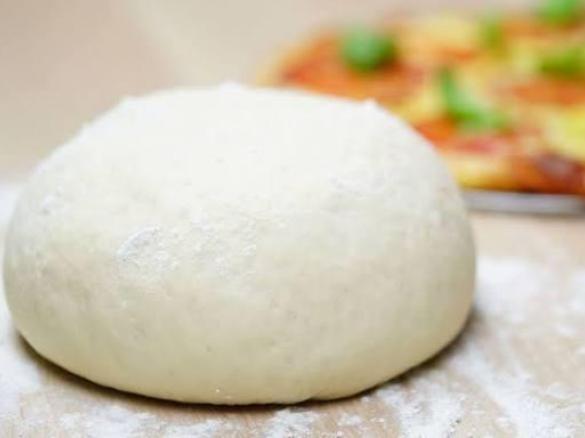
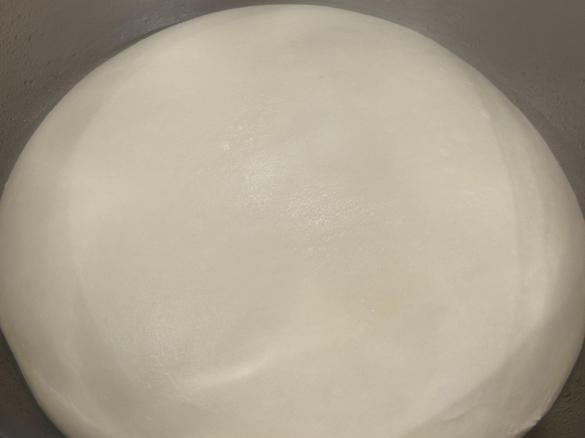
- Place a large (see below for size tips) liddable bowl or plastic storage container on top of the Thermomix (with TM Bowl and lid in position - we are going to use the Thermomix as a set of scales only).
Weigh in water with yeast, flour and lastly salt.
Move container to bench and mix well with a spoon.
NB: Container needs to be almost tripple the size of your ingredient volume to allow for dough growth. I’ve used large mixing bowl with a shower cap on top, 5L plastic cake container or a small bucket. - Scrape sides of container to get it fairly clean, cover and rest 16 - 36 hours at room temperature to do bulk proof (see Tips re room temperature).
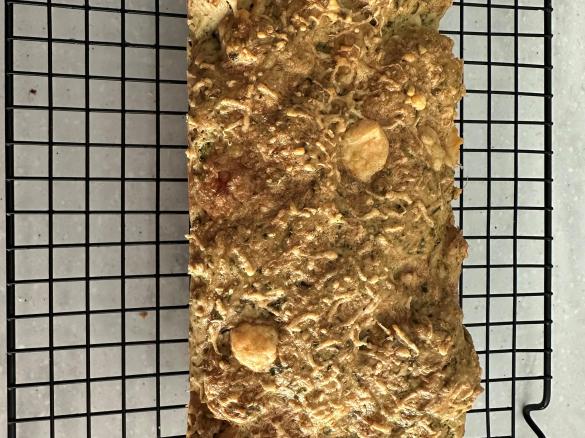
- Line a large baking tray (I use my griller tray as it’s the full width of my standard 60 cm oven and will take the full dough mix however you could use a couple of roasting trays or biscuit trays) with baking paper or a ThermoMat and dust very generously with flour, semolina or fine polenta.
NB: Trays need to be large enough that the dough can spread out and then be divided into pieces in the following steps on the tray with a couple of cm space between each ciabatta. - Gently scrape (a dough scraper or a wide silastic spatula work well) dough onto floured tray. NB: You can use part of the dough and leave remainder for baking next day if desired. Eg do half dough at 20 hrs and remainder at 36 hrs.
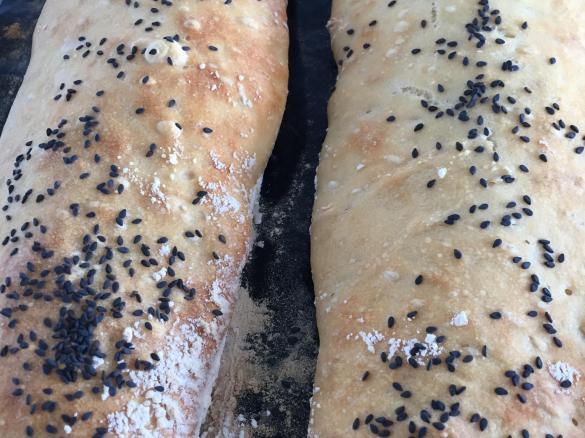
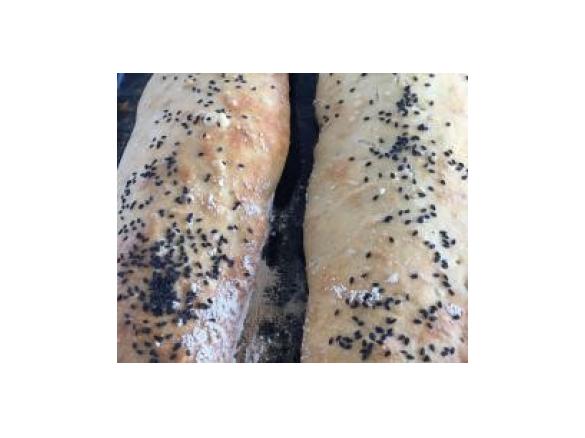
- Sprinkle flour in lines where you want to divide dough. Eg x2 or 3 large tradional torpedo shaped Turkish Pide size or x 6 or more small individual serving size ciabatta squares, rectangles or triangles!


Using a dough scraper or Thermomix Spatula press through the flour lines and cut/divide into desired shapes and gently push dough apart dough to allow a little space between - approx 2cm apart is all you need.
Picture shows a half size on a biscuit baking tray. - Sprinkle with a little flour or seeds of choice - sesame, poppy or nigella are traditional.
- OPTIONAL depending on your desire, bake in COLD oven or PREHEATED oven.
COLD OVEN METHOD
Straight after shaping, place in cold oven and bake 230°C FF 25 - 35 minutes or until cooked with a little colour.
NB: Time will depend on how long your oven takes to heat up and what size ciabatta you made.
PREHEATED OVEN METHOD
Cover dough tray with clean tea towel or place inside a large plastic bag and rest in a warm spot to prove 30 minutes whilst preheating oven to 250°C FF (or as hot as your oven will go).
For nice soft crust, place an ovenproof dish (aluminium disposable tray can work well) on bottom oven rack and pour in a cup of boiling water just before backing to create a nice moist “steam” effect.
Bake 7-8 minutes, then turn down to 210°C for another 15-20 minutes.
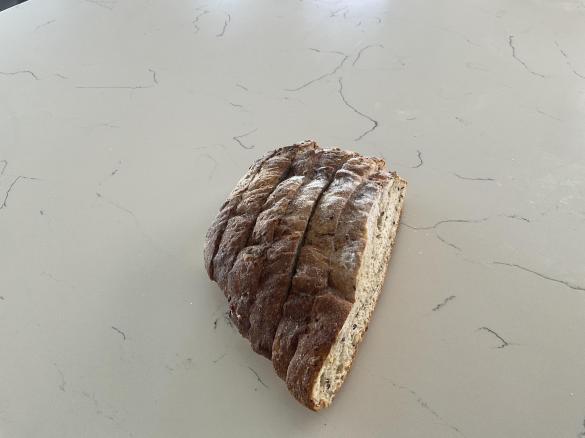
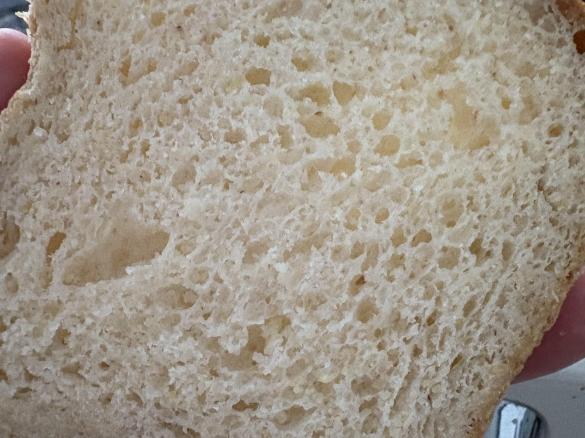
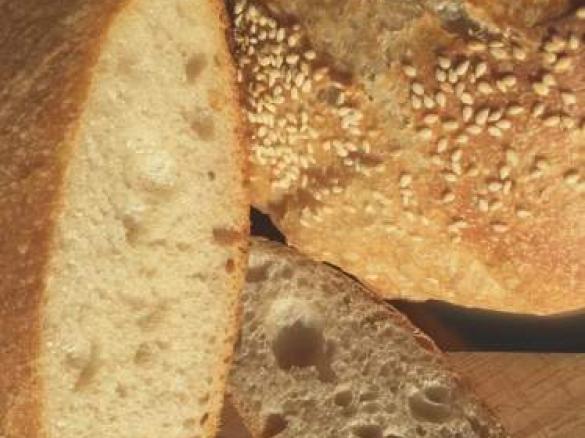
They may show a slight curve up from the bottom when cooked, however shouldn't be overly crusty or too brown. - Best eaten fresh on day of baking (most "wet" dough mixtures are best eaten same day).
Good spilt and toasted.
Freeze - when cold, wrap well in alfoil, place into a ziplock bag. Can be thawed for use or put into 150C oven still warapped in alfoil and warmed straight from freezer.
Recipe inspired by one of my wonderful friends and cusomer, Barbara who had it given to her by a very dear friend Elsie.
Your vote and comments are always appreciated!.....Happy Cooking
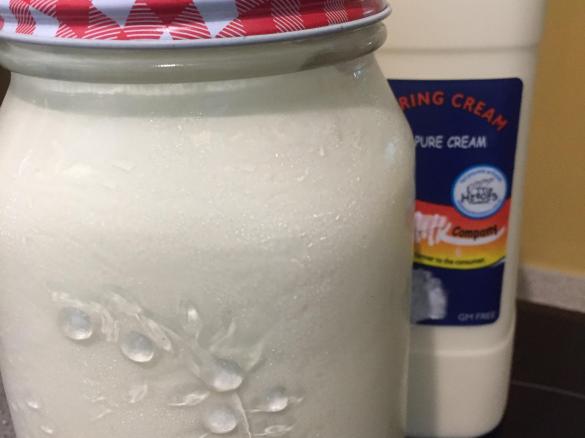
Mix Dough
Shaping

Baking
Tip
Water should be either filtered or pre-boiled from a kettle and cooled. Do not use Spring Water (salts and pH can cause yeast retardation). If your water is really cold, warm it a little however you are looking for about 30 degrees (which is less than the usual 37C required for short rise dough).
If you are really unsure about “tepid” - warm the 500g water in Thermomix to 37°C then pour into your container and allow to sit on the sink surface 10 minutes or so and it will cool down to proceed with recipe.
Room Temperature is a huge variable acrosss Australia depending on season and where you live. Your aim for slow rising dough recipes is about 22-25C. You may need to use bathroom floor/laundry if it's warm in your kitchen/place of residence or conversely, place it near a sunny window or possibly just wrap it in a towel and place on a wooden board/folded tea towel to reduce heat loss/drafts if you’re in a chilly house.
OPTIONAL Sourdough Starter Method
Use 100 g Active Starter + 450 g water + 600g bread flour + 1.5 tsp salt in first step.
Thermomix Model
-
 Recipe is created for
TM 31

This recipe was provided to you by a Thermomix ® customer and has not been tested by Vorwerk Thermomix ® or The Mix Australia Pty Ltd and The Mix New Zealand Ltd.
Vorwerk Thermomix ® and The Mix Australia Pty Ltd and The Mix New Zealand Ltd assume no liability, particularly in terms of ingredient quantities used and success of the recipes.
Please observe the safety instructions in the Thermomix ® instruction manual at all times.
Other users also liked
Show me similar recipes by:


Comments