


Ingredients
- 230 grams whole milk, (BGD - I used soy)
- 100 grams extra virgin olive oil, (OR other non animal based oils, vegetable, grapeseed etc)
- 1 teaspoon salt
- 280 grams tapioca flour, (you can find this at asian grocers)
- 2 eggs
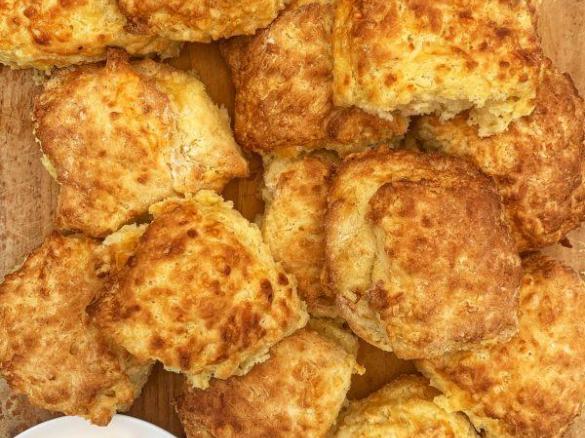
- 100 grams cheese, (Parmasean, cheddar etc. BDG - I used goats chevrette)
Accessories you need
-
 Spatula TM5/TM6
Share your activity
I'm cooking this todayRecipe's preparation
Grate the cheese in the tmx and put aside. No need to wash bowl.
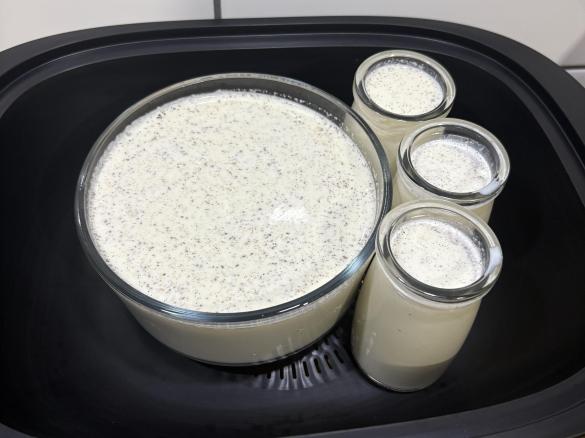
Put milk, oil and salt in the bowl.
Temp 100. Time about 7 mins (i was going to double check this but it published before i was ready) Speed 1.
.
At the end of the time the mix should have just come to the boil, with big bubbles. As soon as you can see it boiling consistently, turn dial to off position.
.
Add the tapioca flour and mix. Speed 3. Watch and listen, it only takes about 5 - 10 seconds for the flour to get mixed in, and the dough is quite firm.
.
Then, have a tea or a coffee.. Pre-heat your oven to 230 C and prepare your baking trays with a silicon liner or baking paper. You need to wait until the temp on the thx shows 50 C before you can do the next step - Kneading.
In a seperate bowl, lightly beat the 2 eggs. Knead for 3 mins, tipping the egg mix through the lid while the machine is working. Not all at once, it will take maybe 20 seconds.
.
As the eggs get worked in, the dough mix starts to resemble a firm cake mix. At the end of 3 mins, the dough looks soft and stretchy.
.
Press the knead once again, adding the cheese through the lid, slow enough that it gets evenly incorporated into the dough mix. Again, it's about 20 seconds or so.
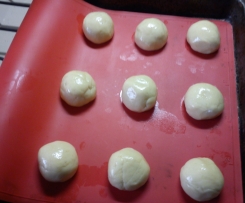

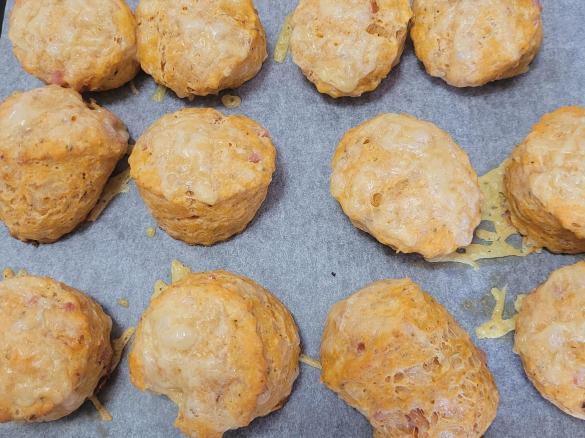
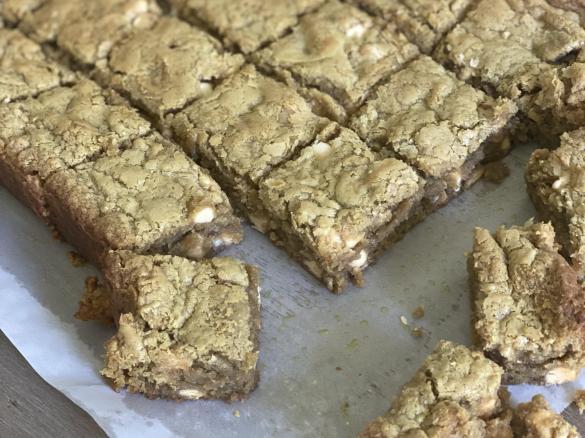
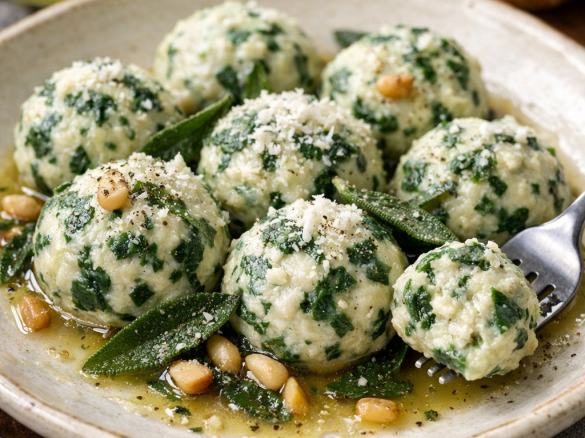
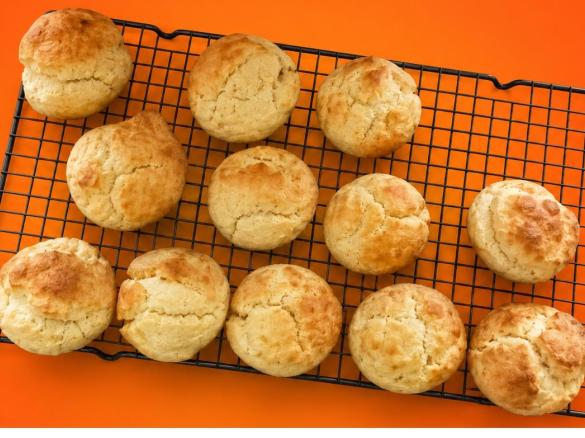
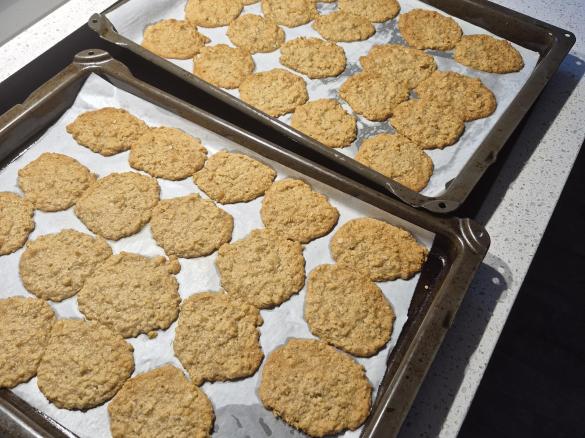
Oil your hands. Scoop rounded table spoon sized portions of the dough out of the bowl and work between your hands, into a round ball. They do spread a little while cooking so leave a couple of cms between others and evenly space them on the prepared trays.

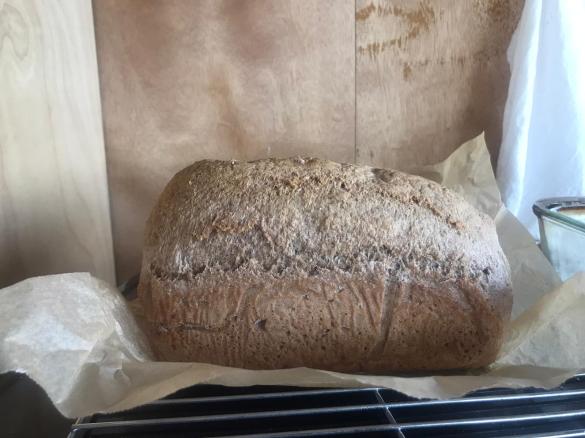
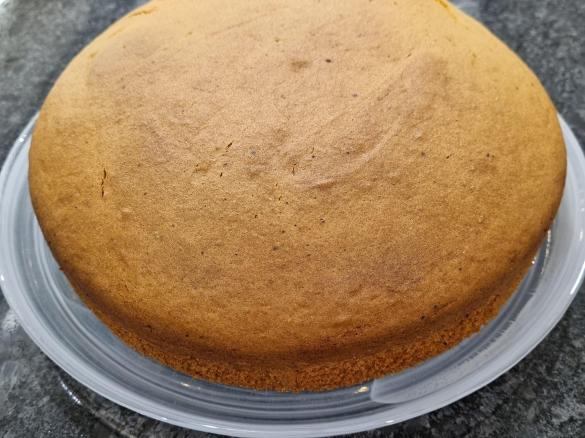
Place in the oven and immediately TURN DOWN the oven to 180 C. They will be a lovely light golden colour in about 25 - 30 mins. They are crunchy on the outside and fudgey-chewey-cheesey like in the middle.
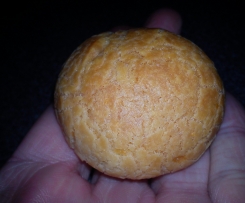
Or leave them until they are more golden and they are even more crunchy and more bread-like in the middle.
cheese

Tip
Best eaten straight from the oven.
.
Converted to the thx from a recipe found on Yummly / The Kitchn website. It recommends that the dough is also suitable for freezing (place the dough balls on a tray and freeze. When frozen, place in bags for later use) They also recommend that the cooked cheese breads will keep in the fridge for a week and can be eaten cold or reheated.
Thermomix Model
-
 Recipe is created for
TM 31

This recipe was provided to you by a Thermomix ® customer and has not been tested by Vorwerk Thermomix ® or The Mix Australia Pty Ltd and The Mix New Zealand Ltd.
Vorwerk Thermomix ® and The Mix Australia Pty Ltd and The Mix New Zealand Ltd assume no liability, particularly in terms of ingredient quantities used and success of the recipes.
Please observe the safety instructions in the Thermomix ® instruction manual at all times.


Comments
June 2016-Delicious and simple!
I did half mozzarella half romano parmesan cheese and arrowroot instead of tapioca. Absolutely delicious . Step 2 the boiling of the milk only took about 5 minutes for me after that it started to boil over. I kept the MC off all stages past the boiling milk . Also it took 10minutes for them to brown, so I may turn the oven down a bit next time. They tastes good after 10 minutes but 20 -30 is a good recommendation . My Boys even microwaved them to heat them back up and they said they were still good... That said I didn't try them microwaved and one of my boys has been known to eat leaves and say they were yummy... :/
July 2025
Still using this recipe as a baseline for my cheesy balls , they have become a family favourite
This is the best Pao De Queijo recipe I've ever tried. I used skim milk in the recipe, and also added a bit of blue cheese and the results were amazing!!!
Simple to make and very yummy, but had some fun getting the dough out of the bowl.
arrggh.. it published while i was still adding photos and editing the text..