


Preparation time
10min
Total time
20min
Portion
40
piece(s)
Level
easy

Ingredients
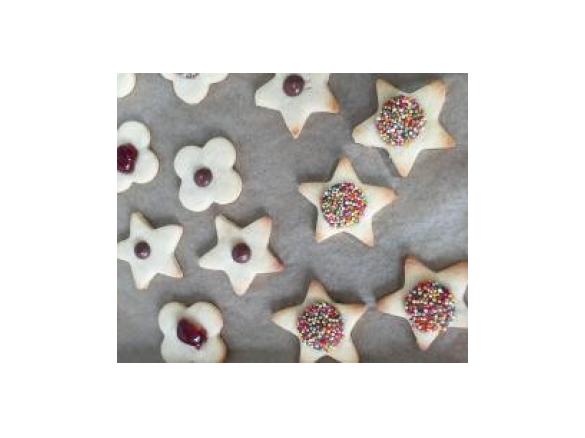
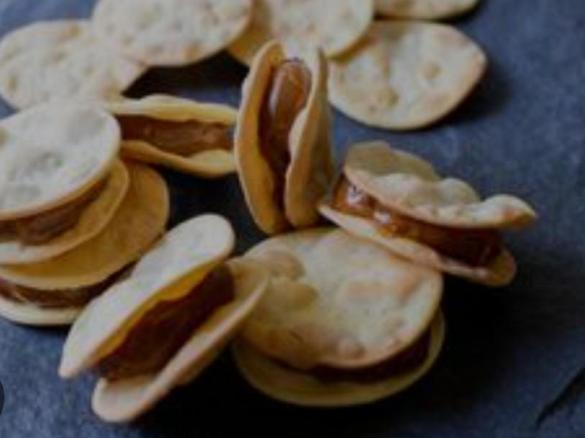
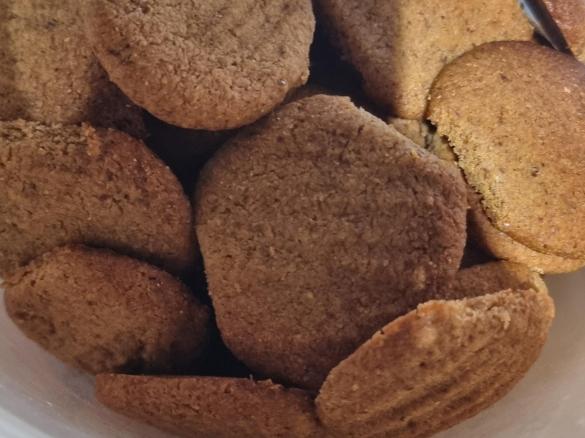
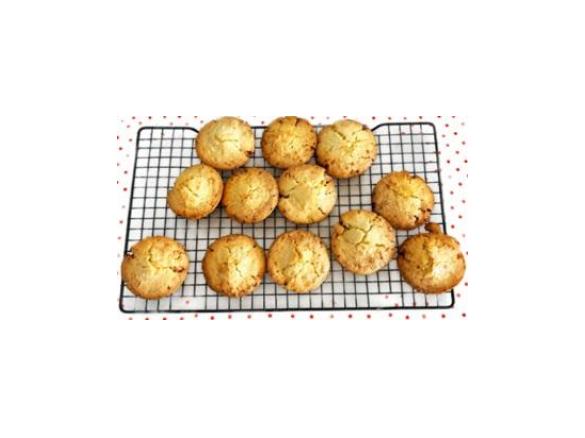
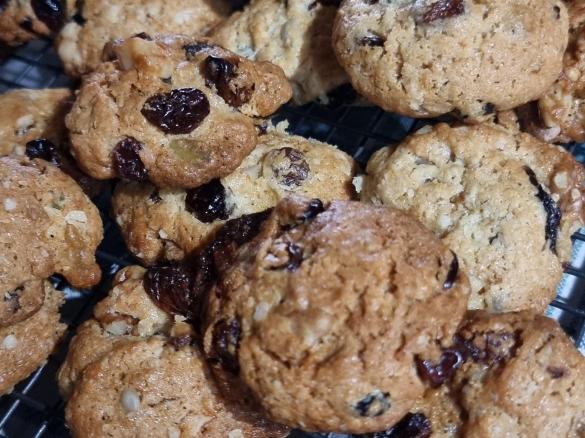
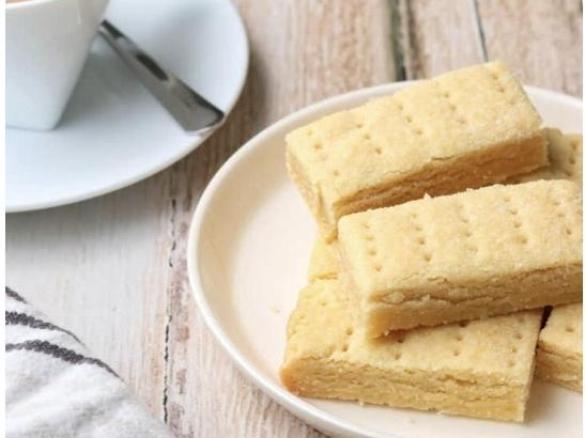
Great Nanna's Russian Shortbread Biscuits
- 320 g plain flour, Can be subsituted for gluten free
- 80 g caster sugar
- 125 g unsalted butter, Room temp
- 90-100 g cream
- 1/2 teaspoons baking powder
- 1 teaspoons vanilla essence, option
Accessories you need
-
 Spatula TM5/TM6
Share your activity
I'm cooking this todayRecipe's preparation
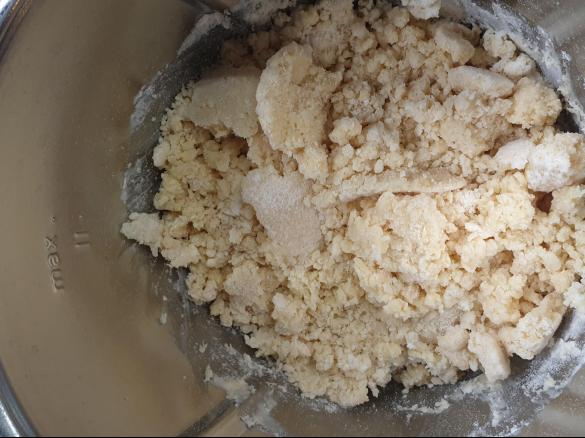
- Step 1. Combine all ingredients in bowl. Speed 4 for 5 seconds
Step 2. Scrape down sides. Then using the dough setting "Dough mode" for 1:30 mins.
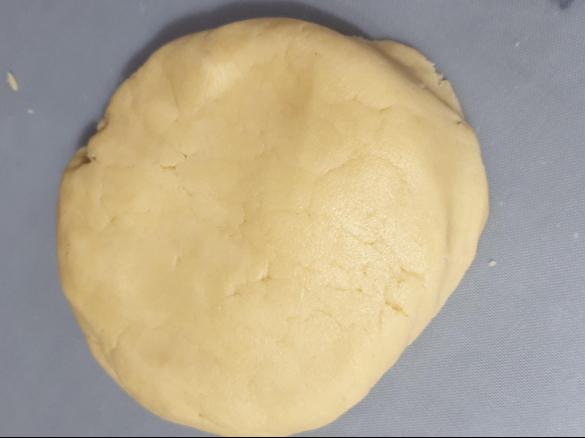
Step 3. Empty onto board/thermo mat etc and make into a disc. Wrap and refrigerate for 30mins. (can be frozen at this stage, if you make a large batch but don’t want to bake them all at the same time).
Step 4. Preheat oven 180°C.
Step 5. Cut in dough in half and roll out to desired thickness (I like about 3-5mm). Using flour on bench to stop it from sticking.
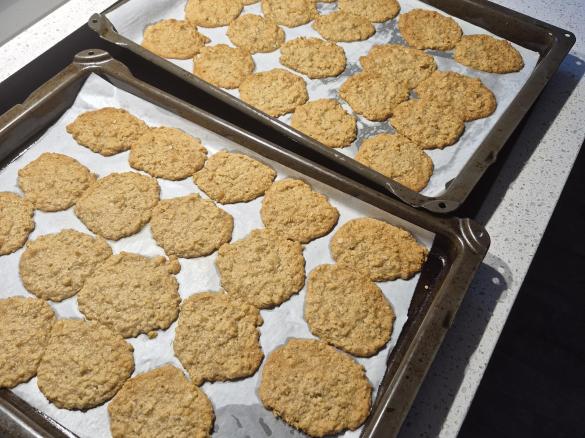
Step 6. Use cookie cutters to cut to shape and place on a lined tray, (these biscuits don't expand much so can be placed reasonably close together. Decorate with chocolate freckles, glazed cherries, blanched almonds or choc chips before baking. Or leave plain to ice later.
Repeat with second half (it becomes a bit unwieldy if you try rolling out the whole lot in one go).
Step 7. Bake for 8-12mins until just lightly golden (12 mins if you like crunchy versions). Be careful these can burn easily.
Step 8. Cool completely before icing.
These keep for ages in an airtight container (although my children demolish a batch in 2 days).
Method
Tip
Can also add colouring in the first step, or divide to make a number of colours (use gel colours and add a little plain flour) in step 3. Just be careful not to over knead the dough.
Thermomix Model
-
 Recipe is created for
TM 5
If you are using a Thermomix® TM6 measuring cup with your Thermomix® TM5:
For cooking (simmering) at temperatures of 95°C or above (200°F), the simmering basket should always be used instead of the TM6 measuring cup, as the TM6 measuring cup fits tightly in the lid. The simmering basket rests loosely on top, is steam-permeable, and also prevents food spatter from the mixing bowl.Please note that the TM5 mixing bowl has a larger capacity than the TM31 (capacity of 2.2 liters instead of 2.0 liters for TM 31). Recipes for the Thermomix TM5 may not be cooked with a Thermomix TM31 for safety reasons without adjusting the quantities. Risk of scalding by spraying of hot liquids: Do not exceed the maximum filling quantity and observe the filling level markings of the mixing bowl!

This recipe was provided to you by a Thermomix ® customer and has not been tested by Vorwerk Thermomix ® or The Mix Australia Pty Ltd and The Mix New Zealand Ltd.
Vorwerk Thermomix ® and The Mix Australia Pty Ltd and The Mix New Zealand Ltd assume no liability, particularly in terms of ingredient quantities used and success of the recipes.
Please observe the safety instructions in the Thermomix ® instruction manual at all times.
Recipe's categories:
Other users also liked
Show me similar recipes by:


Comments