


- TM 5

Ingredients
Sponge
- 1 cup active sourdough starter, (recently fed)
- 1 cup plain flour
- 3/4 cup room temperature water
Bread
- 350 g bread flour
- 50 g room temperature water, (1/2 MC)
- 2 teaspoons apple cider vinegar, (optional)
- 1 1/2 teaspoons salt
- 1 1/2 teaspoons sugar
- 1 tablespoon olive oil
- Sponge
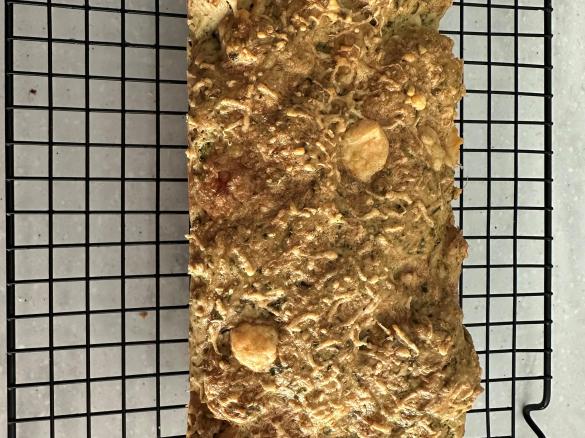
- Small handful pepitas and sunflower seeds, (optional)
Accessories you need
-
 Spatula TM5/TM6
Share your activity
I'm cooking this todayRecipe's preparation
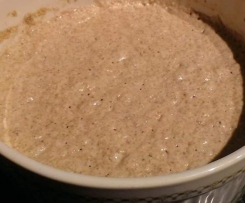

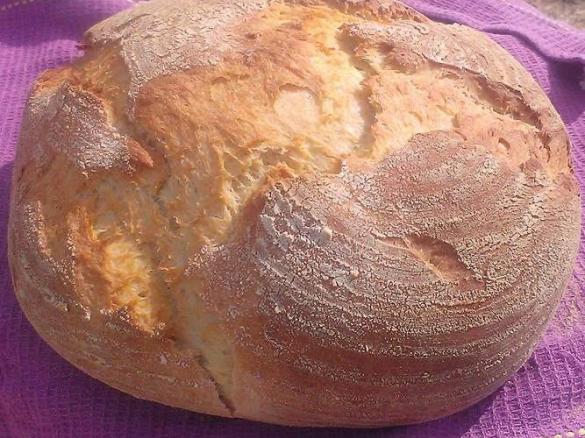
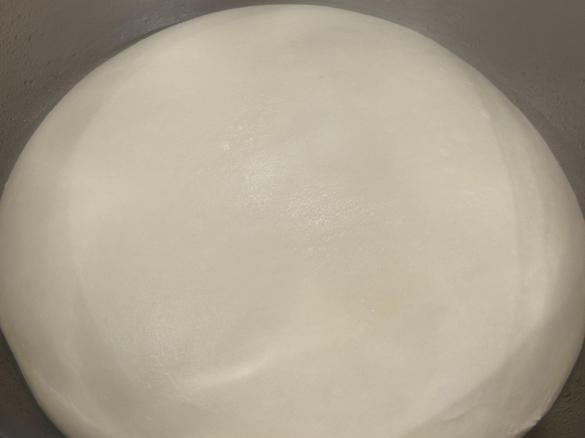
Put 1 cup of starter into a clean bowl (not metal - I prefer ceramic, such as a casserole dish), add 1 cup plain flour of your choice (you can use wholemeal, rye, white or a mix ) and ¾ cup room temperature water. Mix well and put into a draught free place for 8 to 10 hours. I cover mine with a teatowel and leave on my kitchen bench either all day or overnight. (The photo is my sponge made with half white and half rye flour)
Add all ingredients, except for grains, to Thermomix bowl in the order listed. Knead for 4 mins. If adding grains, add them in the last 30 seconds through the hole in the lid.
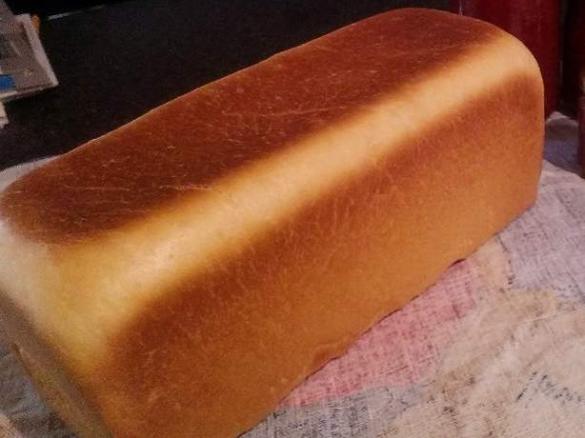
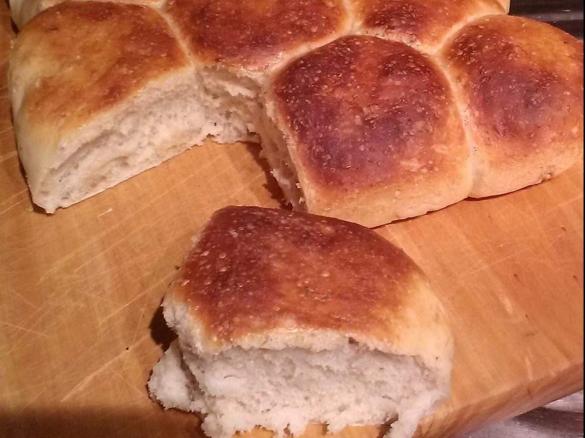
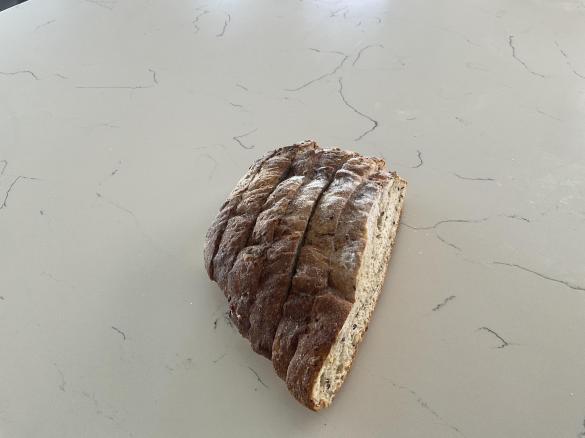
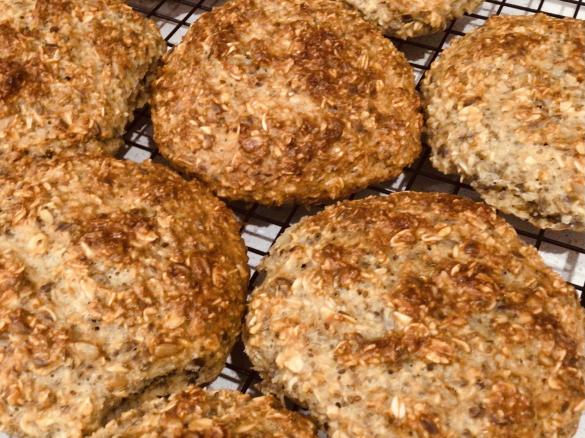
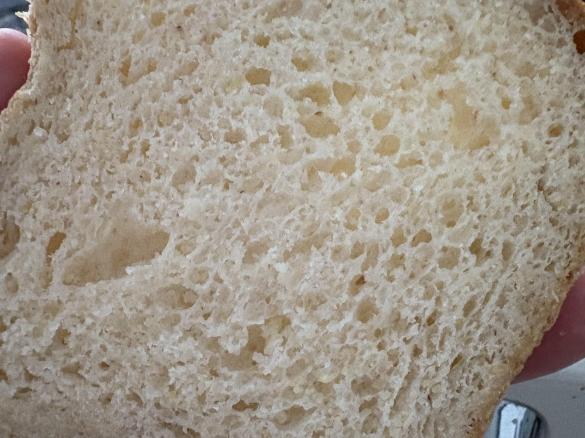
Tip out onto an oiled bench or thermomat, and flatten out with your hands. Roll up tightly, swiss roll style, and put into your loaf tin. Cover loosely with oiled cling wrap. Alternatively, form into bread rolls (makes 12) or shape in a banneton, and put in a draught free place for 6 - 8 hours to prove, depending on the room temperature. Bake once it has doubled in size. Sourdough needs a slow rise, so don’t put into a warm place as you would with yeasted bread. I leave mine on the kitchen bench.
Preheat your oven to 200 degrees C, with a baking tray half full of water on the bottom shelf to create steam. When oven is hot, gently brush or spray your proved bread with water and sprinkle with seeds if desired. Bake at 200 C for about 45 mins, or until it has a hollow sound when tapped. Remove the tray of water after 20 mins (usually I find it is dry by then anyway). If you find the top is getting too dark you can reduce the heat to 180 C, or cover the bread with foil. Breadrolls will only take about 20 to 30 mins
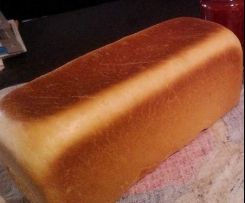
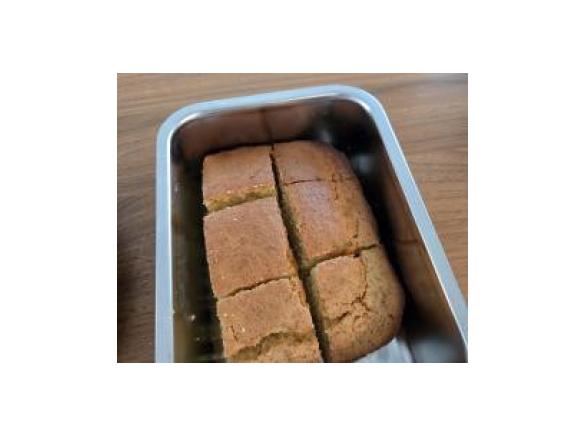
This recipe fits perfectly into the Thermomix bread tin. If using the lid, put it on and bake when the loaf is about 2 – 3 cm from the top of the tin. I find this works best if I put it into a cold oven at this stage, as you are catching the bread on the rise, and it rises as the oven heats up and fits the tin perfectly.
Sponge

Bread
Tip
1. Start this recipe 24 hours before you want to bake. I usually make the sponge before I go to bed, mix the bread in the morning before I go to work, and bake when I get home from work in the late afternoon. Or reverse the procedure to bake in the morning.
2. In very warm weather, I am finding it better to prove the bread in the fridge overnight or all day, if I can't be around to watch it, otherwise it rises and falls before I can bake it. Let it return to room temperature, then put it into a cold oven set at 200C, and the bread finishes rising as the oven heats up. I put the tray of water in the oven at the same time I put the bread in, and remove it after about half an hour. Your bread will take a little longer to cook using this method (around an hour in my oven).
3. Suitable for TM5 and TM31.
4. Check out Mixing Adventures on Facebook for more sourdough ideas.
5. This is not an artisan style sourdough, but an everyday sandwich loaf that you can make to replace yeasted bread, with the lovely sourdough taste and (for me anyway) digestion benefits.
Thermomix Model
-
 Recipe is created for
TM 5
If you are using a Thermomix® TM6 measuring cup with your Thermomix® TM5:
For cooking (simmering) at temperatures of 95°C or above (200°F), the simmering basket should always be used instead of the TM6 measuring cup, as the TM6 measuring cup fits tightly in the lid. The simmering basket rests loosely on top, is steam-permeable, and also prevents food spatter from the mixing bowl.Please note that the TM5 mixing bowl has a larger capacity than the TM31 (capacity of 2.2 liters instead of 2.0 liters for TM 31). Recipes for the Thermomix TM5 may not be cooked with a Thermomix TM31 for safety reasons without adjusting the quantities. Risk of scalding by spraying of hot liquids: Do not exceed the maximum filling quantity and observe the filling level markings of the mixing bowl!

This recipe was provided to you by a Thermomix ® customer and has not been tested by Vorwerk Thermomix ® or The Mix Australia Pty Ltd and The Mix New Zealand Ltd.
Vorwerk Thermomix ® and The Mix Australia Pty Ltd and The Mix New Zealand Ltd assume no liability, particularly in terms of ingredient quantities used and success of the recipes.
Please observe the safety instructions in the Thermomix ® instruction manual at all times.


Comments
That's great. I'm happy to help along the way if you need it. I love baking with sourdough, and helping others to master it too.
Thank you. your suggestion was of help")
The easiest way is to get some from a friend! Anyone who makes sourdough usually has excess, and will be happy to give you enough to get you started. If you don't know anyone to get some from, there are lots of instructions if you Google it. I did mine so long ago now that I can't remember exactly how I did it. It does take a bit of time and patience, as the starter will need a lot of feeding as it develops at the start. Once it's established, you can just keep it in the fridge and feed it once a week. Sorry I can't be of more help.
hi there, I love the look of this recipe. How do I make the starter culture please? Can't wait to try it")
Thanks