


Ingredients
Sweet Dough
- 200 grams Milk
- 15 grams instant yeast, or 3 teaspoons
- 30 grams raw castor sugar
- 400 grams bakers flour
- 50 grams condensed milk
- 1 egg yolk only
- 30 grams softened butter
- 1 pinch salt
- 1 teaspoon Bread Improver (Optional)
Buttercream Icing
- 120 grams Butter
- 300 grams icing sugar
- 30 grams Milk
- Food colouring
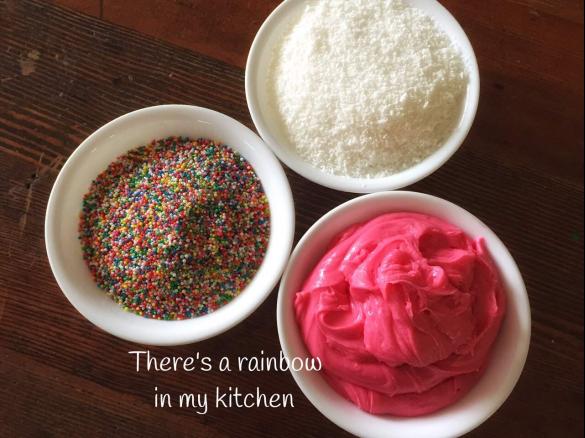
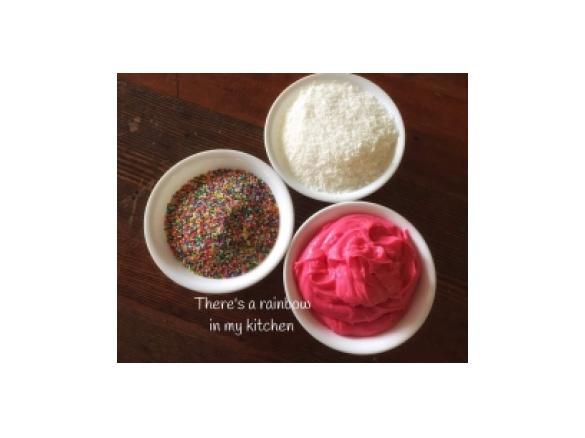
Toppings
- 100's & 1000's
- desicated coconut
Accessories you need
-
 Spatula TM5/TM6
Share your activity
I'm cooking this todayRecipe's preparation
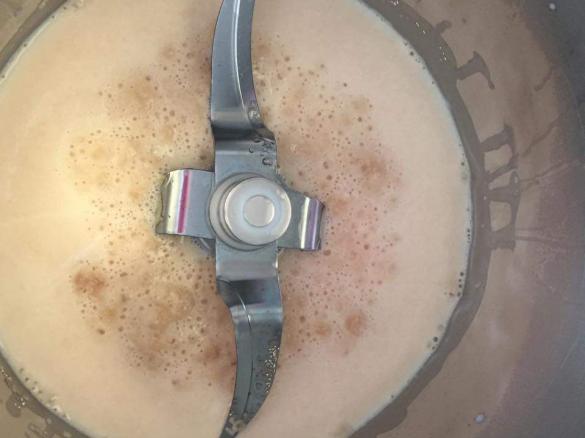
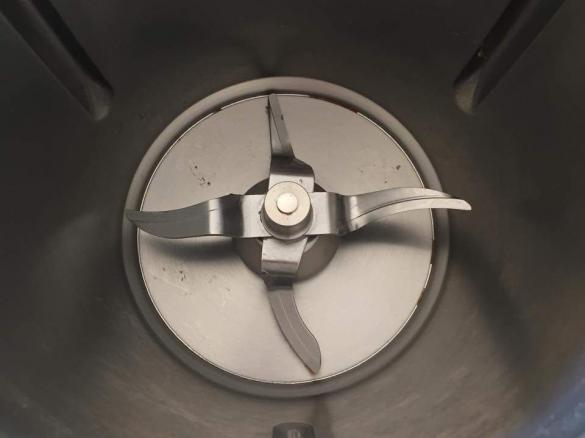
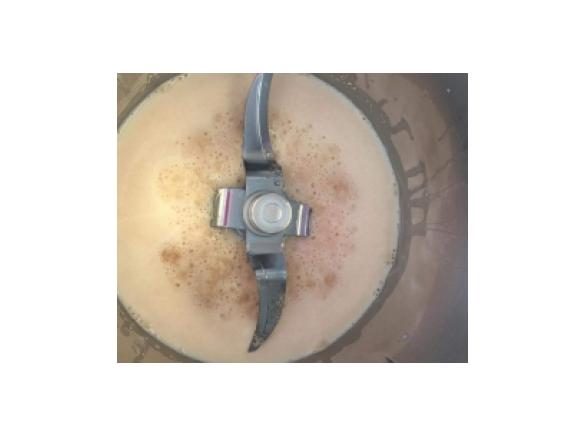
Add Milk, Instant Yeast and Castor Sugar to the bowl.
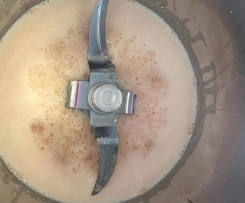

Set - 2 minutes / 37 temp / speed 1
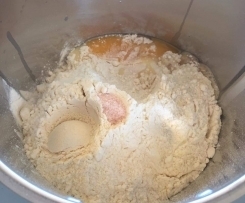
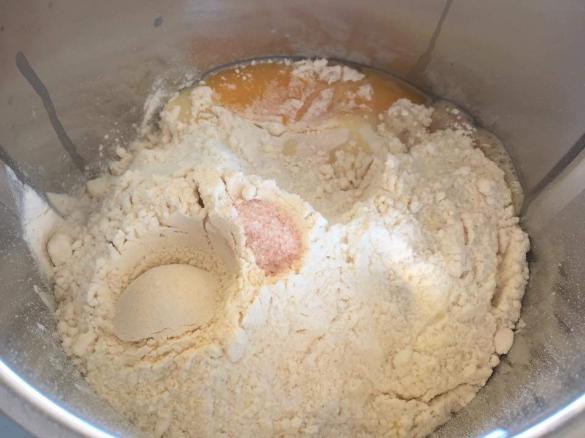
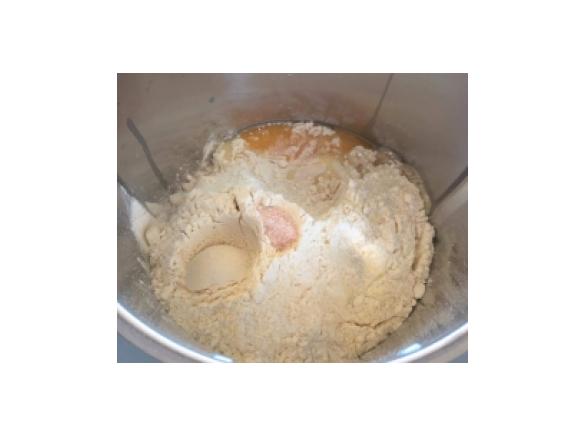
Add Flour, Condensed Milk, Egg Yolk, butter, salt and bread improver to the bowl.

· Combine 10 seconds / speed 7
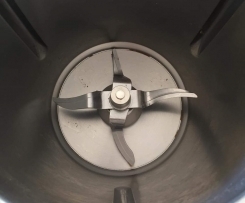
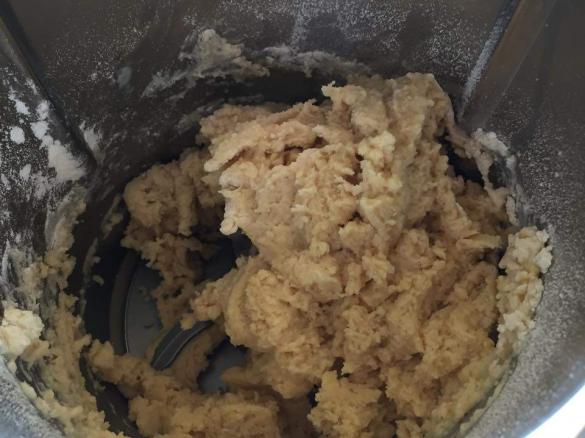
Using the dough
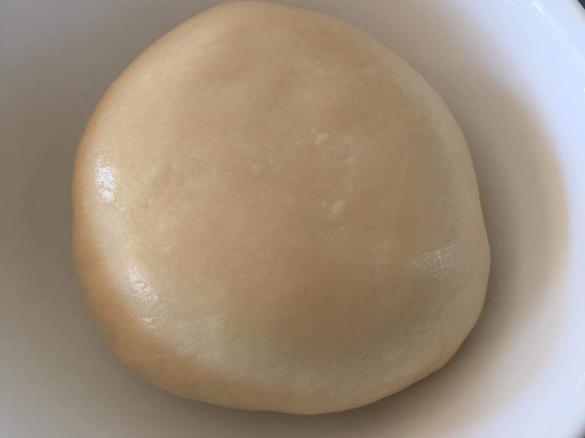
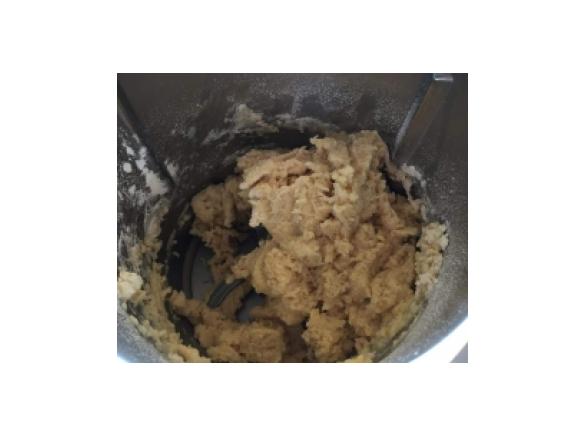
 "Dough mode" function set the timer for 7 minutes and knead the dough mixture. There should be little or no dough stuck to the bowl if kneaded correctly.
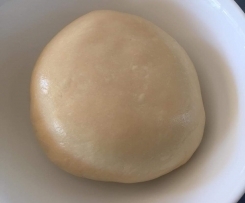
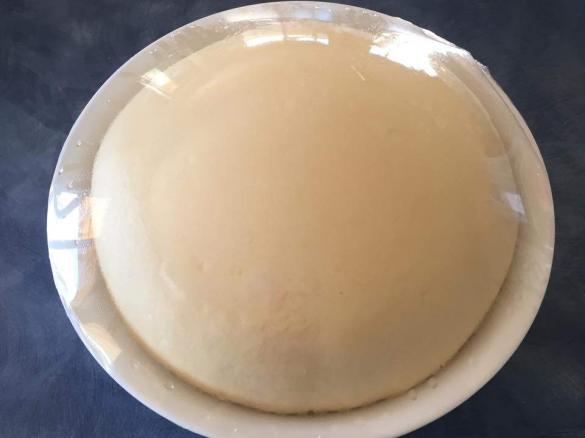
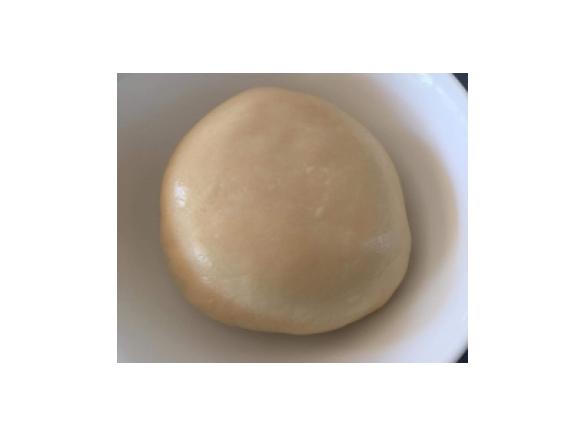
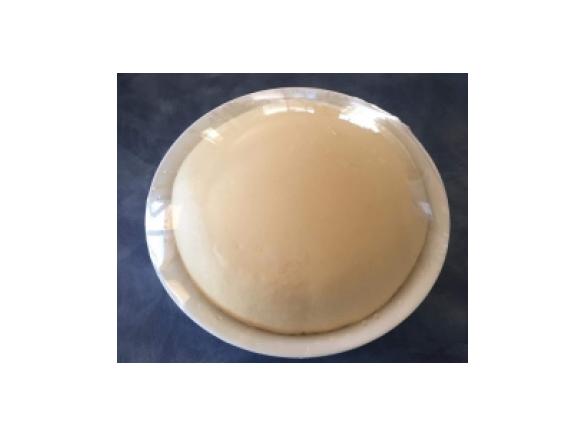
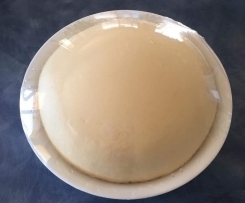
Rest the dough in the bowl or in a lightly greased bowl or thermomat for 20-30 minutes until the dough has doubled in volume.
Turn out onto dough mat and knock out the air bubbles.
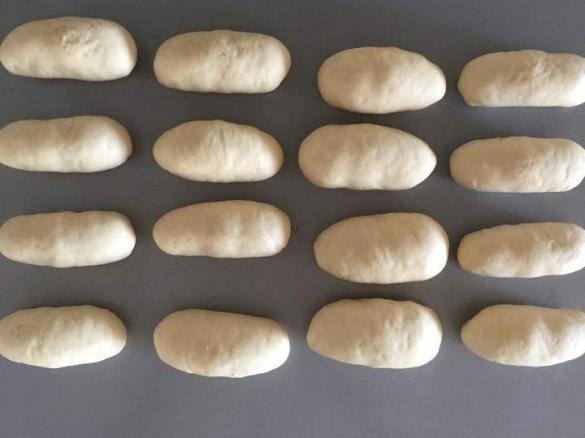
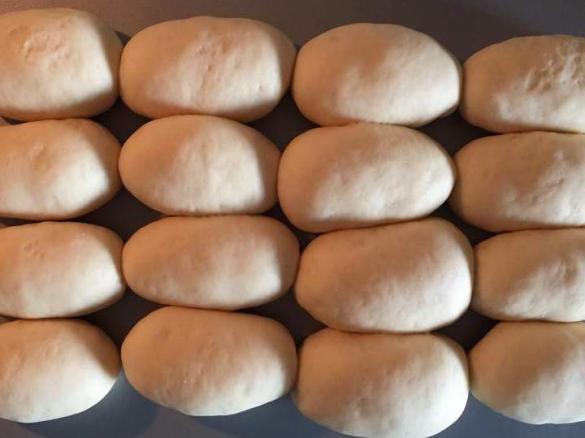
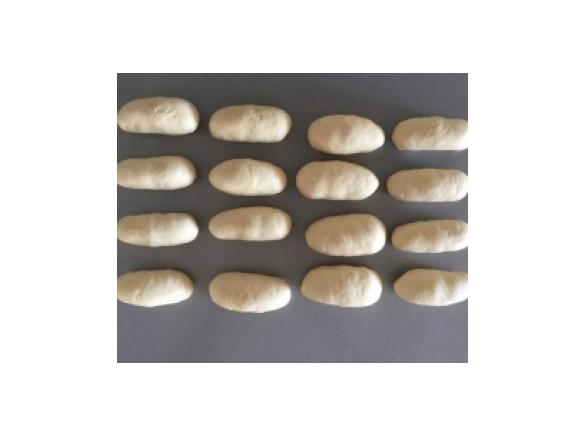
Divide dough into 16 x 45 gram pieces.
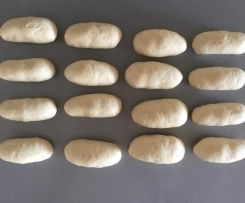
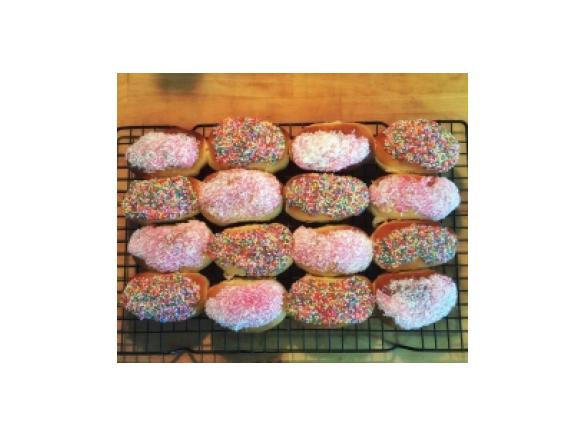
Shape dough into balls and arrange on baking tray. Rounded or finger bun shape.
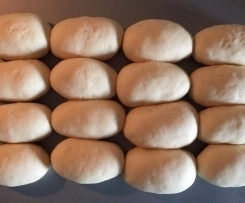
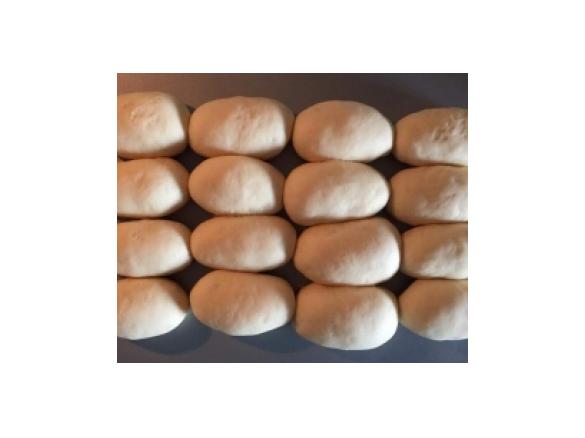
Prove in a warm place for a further 30 minutes or until the buns have doubled in volume again.
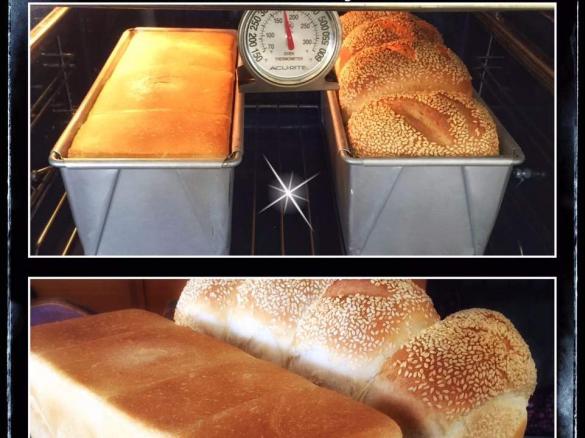
Pre heat oven to 180 while buns are proving.
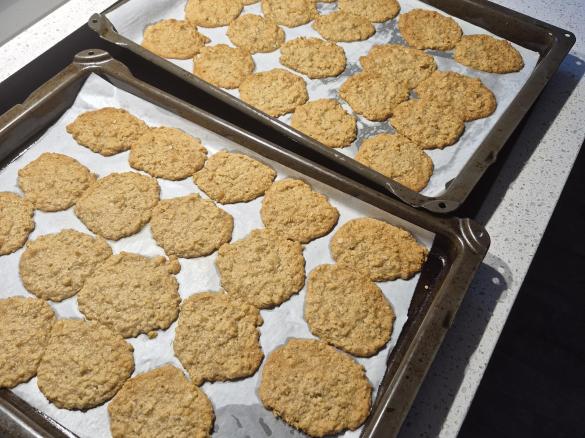
Bake for 15 minutes or until lightly golden and finished baking.
Transfer to a cooling rack until cool enough to decorate.

· This recipe makes more icing than is needed for the buns. It can be stored in the fridge or even frozen until needed.
· Place Butter, Icing Sugar and a couple of drops of food colouring into the bowl and mix - 2 minutes / reverse / speed 2
· After 20 seconds, add in the milk.
· Use spatula to scrape down the sides of the bowl.
· Continue mixing - 2 minutes / reverse / speed 2
· Scrape out into a bowl and prepare toppings to be added.
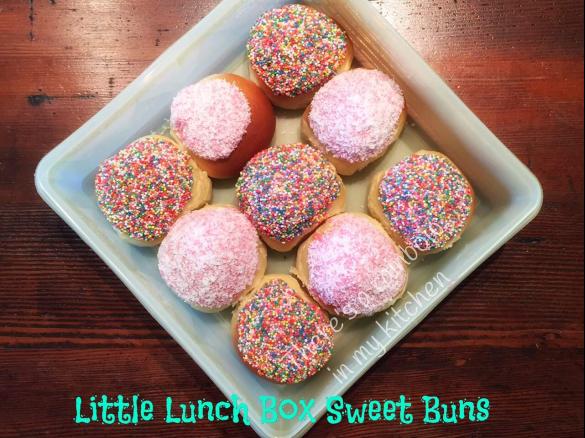
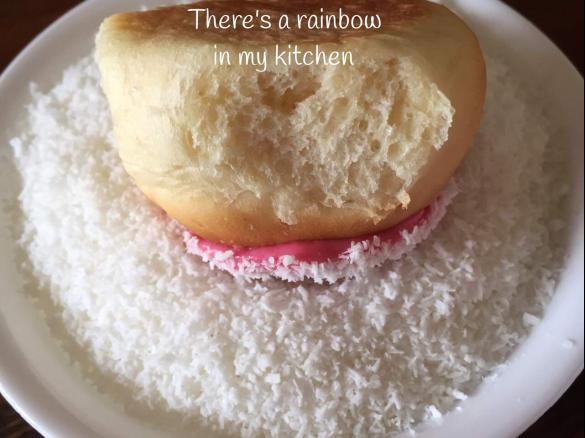
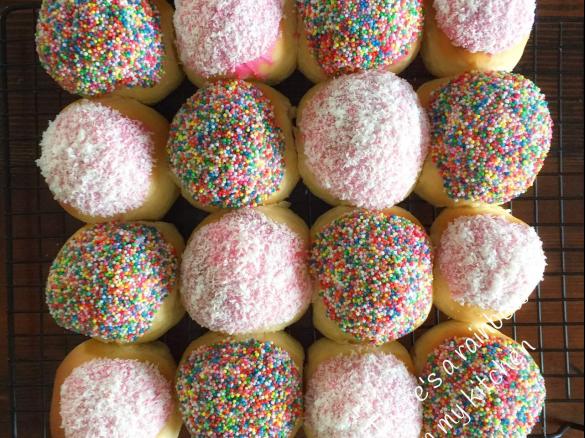
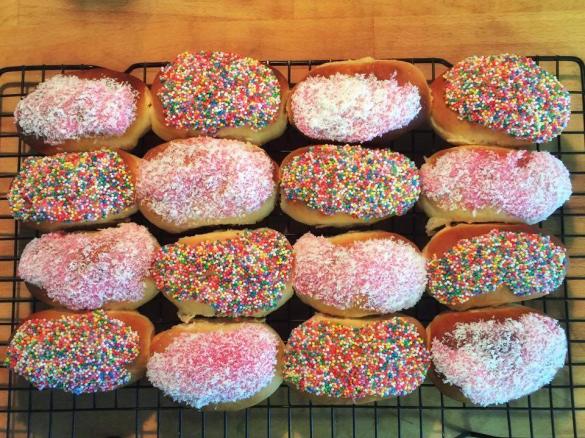
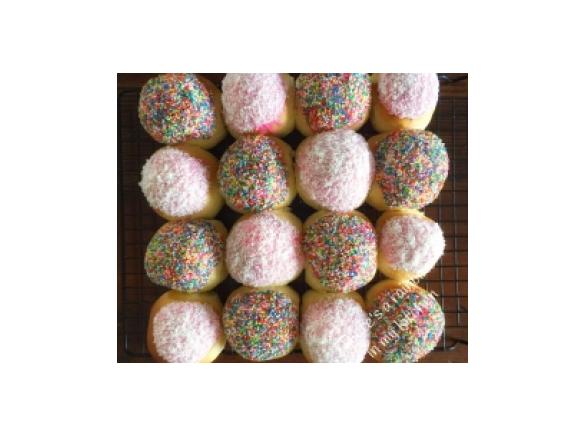
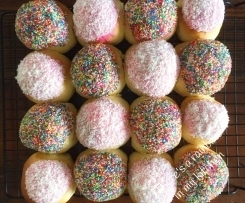
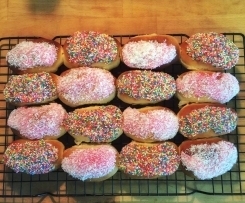
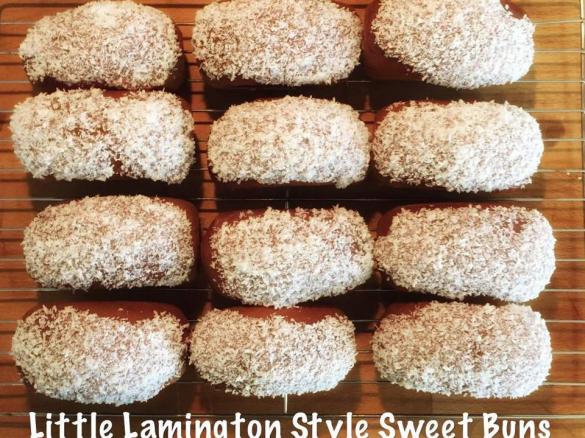
Dip the top side of the bun into the buttercream icing and then into the sprinkle of choice for a solid covering.
Eat straight away.Store in tupperware or similar container.
Package individually and freeze for easy lunchbox fillers any time.

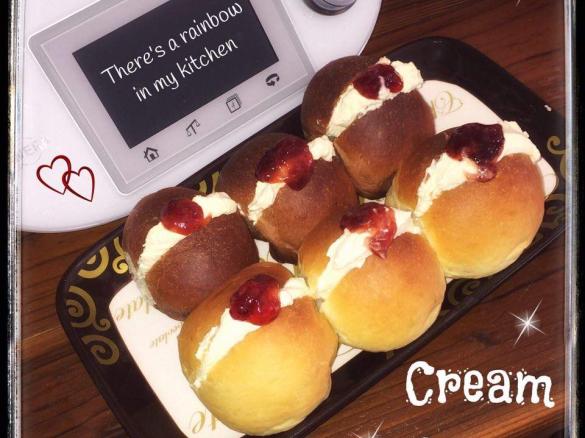
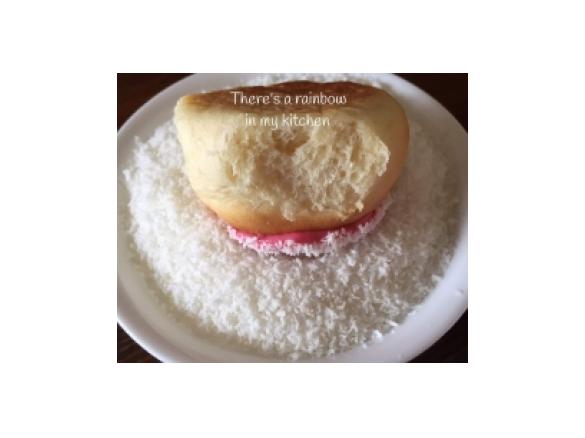
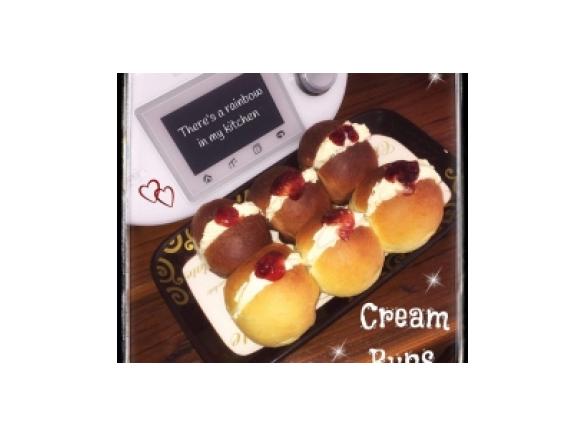
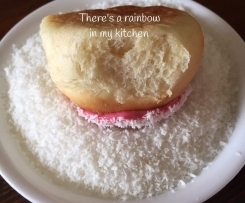
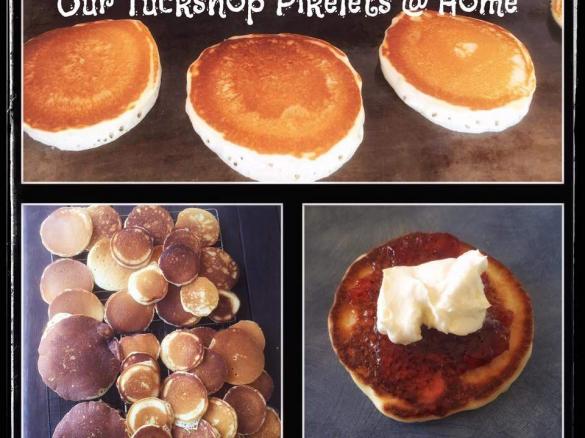
As pictured slice across the middle of the bun without cutting all the way through. Pipe or scoop freshly whipped cream and add a dollop of jam. Dust with icing sugar for presentation. Both cocoa and vanilla sweet dough buns pictured here. See my little lamington style finger bun recipe in my collection.
Sweet Dough

Buttercream Icing
Topping Your Buns
Storage
Fresh Cream Buns with Jam
Tip
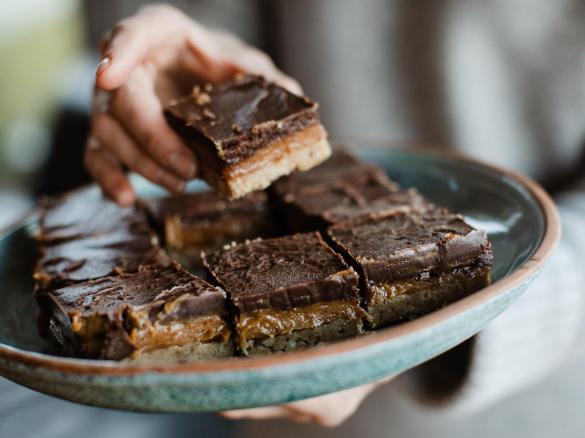
Can be made into finger bun shape and larger buns if desired, just shape as required.Suited to both TM5 and TM31All ovens ingredients and environments can make this products timing differ so adjust to suit.If you make and bake then smile please leave a reveiw so others can cook with confidence too.Enjoy >>>> check out the chocolate version here >>>> //www.recipecommunity.com.au/baking-sweet-recipes/little-lamington-style-iced-sweet-buns-tm5-tm31/270856
Thermomix Model
-
 Recipe is created for
TM 5
If you are using a Thermomix® TM6 measuring cup with your Thermomix® TM5:
For cooking (simmering) at temperatures of 95°C or above (200°F), the simmering basket should always be used instead of the TM6 measuring cup, as the TM6 measuring cup fits tightly in the lid. The simmering basket rests loosely on top, is steam-permeable, and also prevents food spatter from the mixing bowl.Please note that the TM5 mixing bowl has a larger capacity than the TM31 (capacity of 2.2 liters instead of 2.0 liters for TM 31). Recipes for the Thermomix TM5 may not be cooked with a Thermomix TM31 for safety reasons without adjusting the quantities. Risk of scalding by spraying of hot liquids: Do not exceed the maximum filling quantity and observe the filling level markings of the mixing bowl!

This recipe was provided to you by a Thermomix ® customer and has not been tested by Vorwerk Thermomix ® or The Mix Australia Pty Ltd and The Mix New Zealand Ltd.
Vorwerk Thermomix ® and The Mix Australia Pty Ltd and The Mix New Zealand Ltd assume no liability, particularly in terms of ingredient quantities used and success of the recipes.
Please observe the safety instructions in the Thermomix ® instruction manual at all times.


Comments
Could you fill these with custard and would you do before or after baking? Thanks
Can i use dry yeast instead of instant yeast?
nice but needs more salt
Great Recipe they were a hit.
Absolutely amazing! Super easy, great directions, hit with the whole family! Thanks so much for sharing.
Oh wow, made these today and they are just like shop bought. Both Hubby and I loved them, well we will over the next few days. I made nine out of the batch, but would be better at twelve, nine was just a little too big.
These are a regular in our house now. My family loves them, they always turn out so light and fluffy. Thanks for sharing this recipe.
I'm sorry but I don't think these were sweet enough. Tasted like bread and butter.
There were a great hit. Thank you.
Hi mixitmumma I'm sorry you had trouble with the recipe and sorry I didn't see your message sooner. Did your dough rise at all? I'm wondering if your year may have been dead. With sachets of yeast it's fine to store in the cupboard but bulk yeast that has been opened needs to be stored in the fridge. To test if your yeast is still active add a teaspoon of yeast to a tepid glass of water. If it foams and bubbles form after five minutes it's good. If not your yeast will need replacing.
If the the dough is sticky you can add small amounts of flour as needed until it the dough ball becomes more manageable. Different locations and different branded ingredients react differently and adjustments sometimes do need to be made. Follow your dough as a guide and never the clock and you should get great results.
Please try the recipe again Cheers Ruth