


Ingredients
Crumpets
- 350 g water
- 1 1/2 teaspoon dry yeast
- 350 g bakers flour
- 150 g Milk
- 1/2 teaspoon Bicarb Soda or Bicarb Powder
- 2 teaspoon salt
- Oil or Butter for greasing
Accessories you need
-
 Spatula TM5/TM6
Share your activity
I'm cooking this todayRecipe's preparation
Add 350g water into bowl and heat at 37 degrees for 2 1/2 to 3 minutes on speed 1
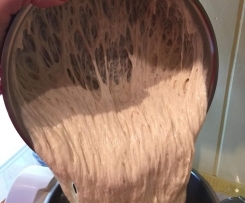
Sprinkle the 1 1/2 teaspoons of yeast over the water and then add the 350g of bakers flour to the bowl. Mix on speed 3 for 5 seconds and then speed 6 for a further 10 seconds or until there are no lumps.

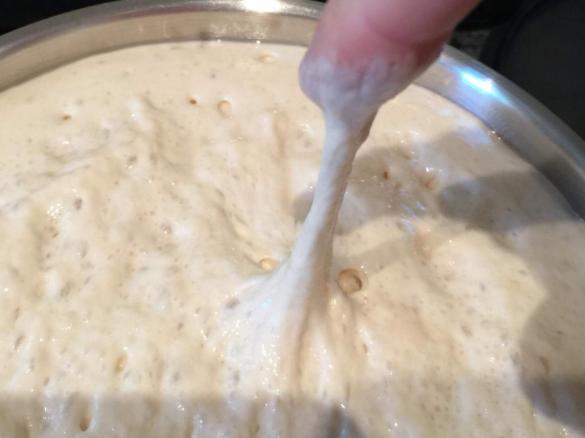
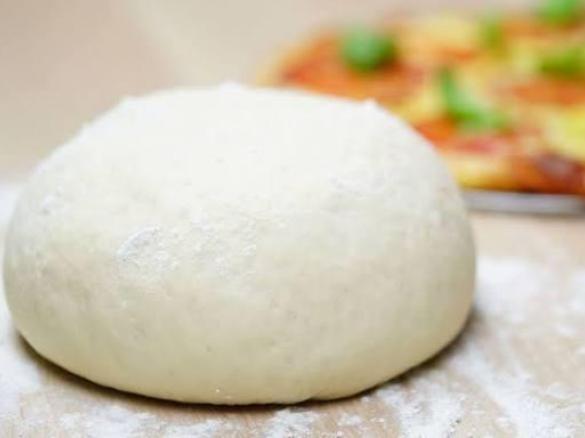
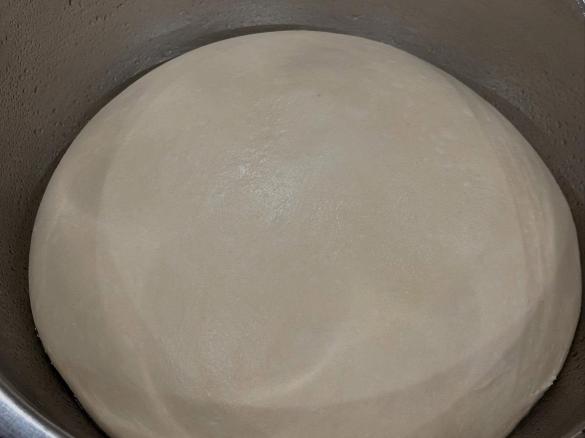
Place the dough into a bowl (larger than a thermoserver) and let rise in a warm place until doubled in size and bubbly when touched. Lailah's tip of putting a tray of boiling water in a closed oven as a rising technique has been a winner for me. Depending on climate, first rise may take 1 hour.
After dough has had it's first rise, place 150g of milk into Thermomix bowl and heat at 37 degrees for 3-4 minutes on speed 1. I've used both regular and UHT milk and both have worked fine.
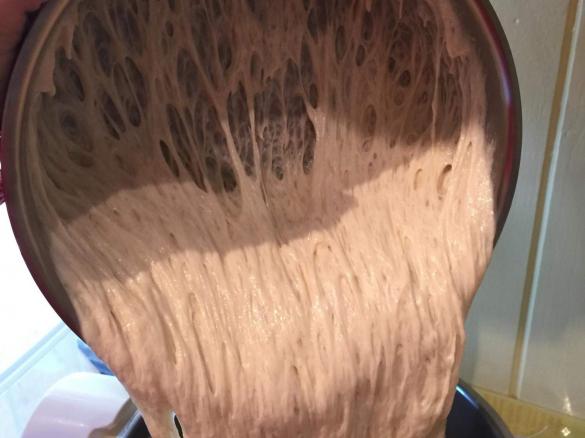
Add the 1/2 tsp of Bicarb soda or bicarb powder, the 2 tsp of salt and batter to the bowl. Mix on speed 3 for 10 seconds, go up to speed 4 for 10 seconds and then speed 5 for 10 seconds. Pour the batter into a bowl (larger than a thermoserver) and rise again until doubled in size.
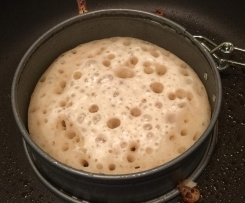
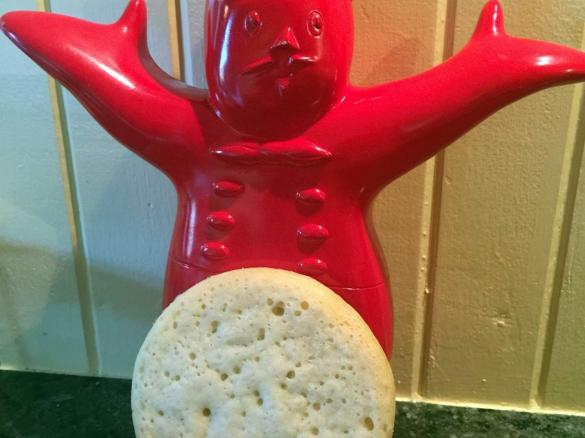
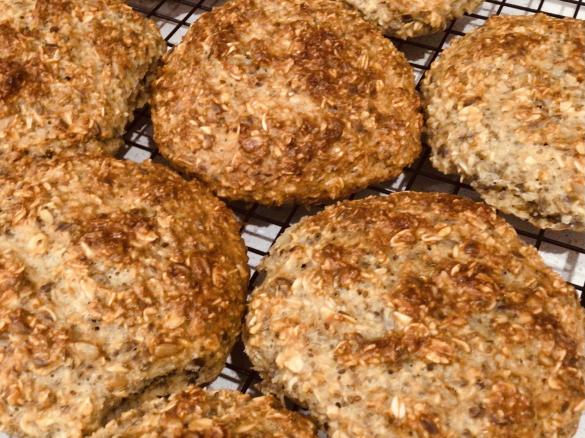
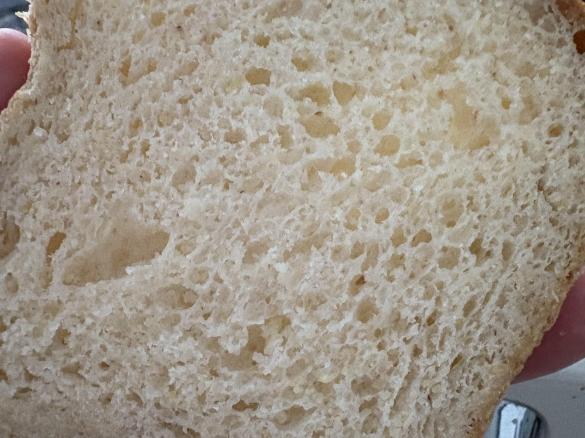
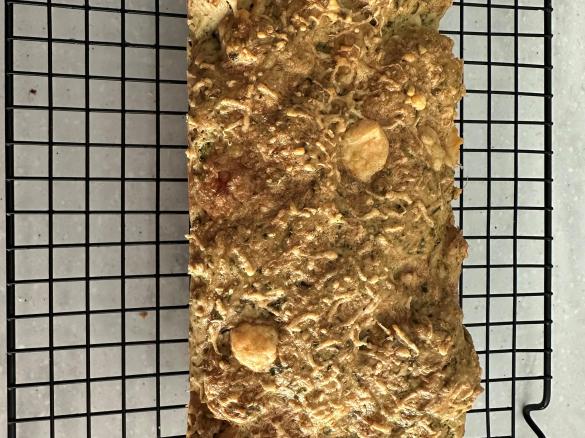
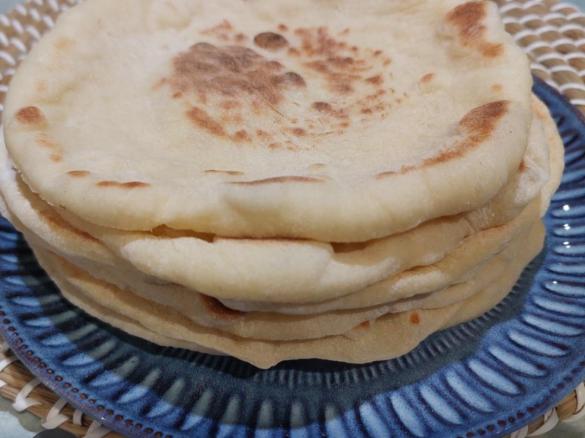
On a frypan or flat griddle, oil or butter egg rings, crumpet molds, mini spring form pan surrounds - anything of shape that can take the heat! Have the pan on a low heat. Fill the rings or molds with about 4-5 large spoonfuls of the batter and cook long and slow. They will slowly start to cook from the outside, changing colour slightly and separating from the mold. You can remove the mold at this stage. Continue to cook slowly until there is no wet dough or shine on top of the crumpet - and enjoy the slow process of watching the little bubbles pop. Flipping them will ruin the top bubbles, as does putting them under a grille so patience is essential for cooking these.
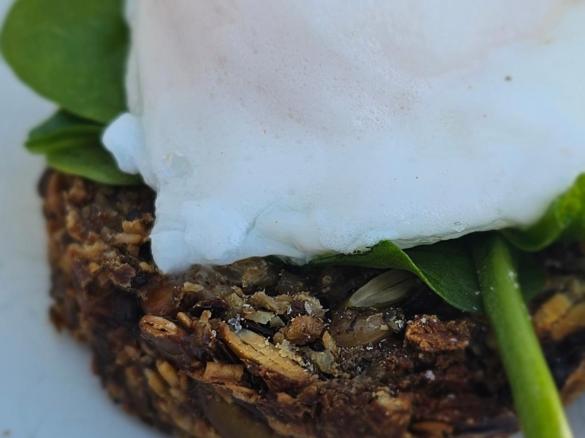
In our house, half of these are buttered and eaten straight out of the pan, but they toast beautifully, should be refrigerated after they've been made and can be frozen, separated with cling wrap, freezer paper or in individual bags for up to three months.
I've got multiple photos of the process and well as many tips on my blog at pompinbleu.com. Enjoy.
Crumpets

Tip
More tips at pompinbleu.com.
Other items required:
Frypan
Egg Rings, Mini Spring Form Pan surrounds
Measuring Spoons
Large Bowl
Cooling Rack
Tongs
Large spoon
Thermomix Model
-
 Recipe is created for
TM 31

This recipe was provided to you by a Thermomix ® customer and has not been tested by Vorwerk Thermomix ® or The Mix Australia Pty Ltd and The Mix New Zealand Ltd.
Vorwerk Thermomix ® and The Mix Australia Pty Ltd and The Mix New Zealand Ltd assume no liability, particularly in terms of ingredient quantities used and success of the recipes.
Please observe the safety instructions in the Thermomix ® instruction manual at all times.


Comments
These were delicious. I cooked them in my sunbeam pie maker with the lid open. It worked so well. Thank you for the recipe
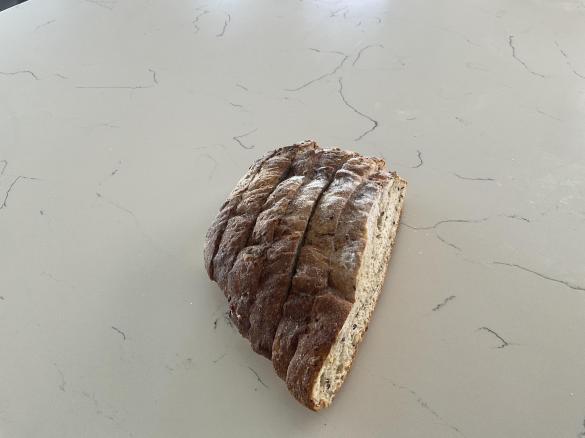
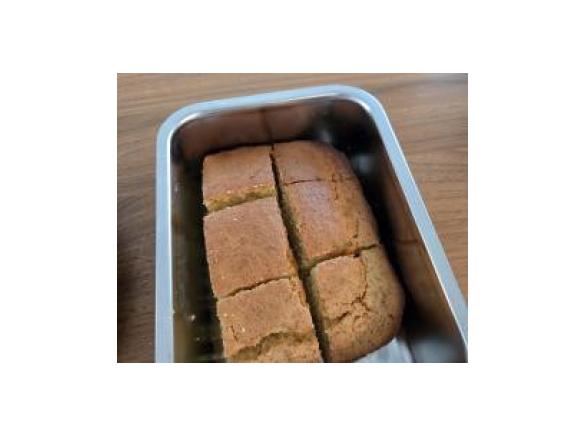
Interesting viscous bread dough. I'm not sure if I would bother again. They tasted delicious hot and a bit gooey with honey. I got bored with using the egg rings and ended up making one final large one with a spring form cake ring.
I was a bit disappointed
I made to the recipe and agree, just a little too much salt, but the texture wasn't right and the middle were still doughy.
I'm going to try this recipe for sure, have read the comments and will probably follow others and reduce the salt.
How long are the supposed tocook for? I cooked mine for over half an hour and they were still gooey in the middle...
Easy to follow recipe. I'm very happy with my first attempt and will definitely be making these in the future rather than buying them. I did reduce the salt by half which didn't seem to affect them in anyway.
Awesome Recipe! So delicious!
Great thank you. I'd reduce the salt next time though.