


- TM 6
- TM 5
- TM 31
- TM 21

Ingredients
- 300 grams water
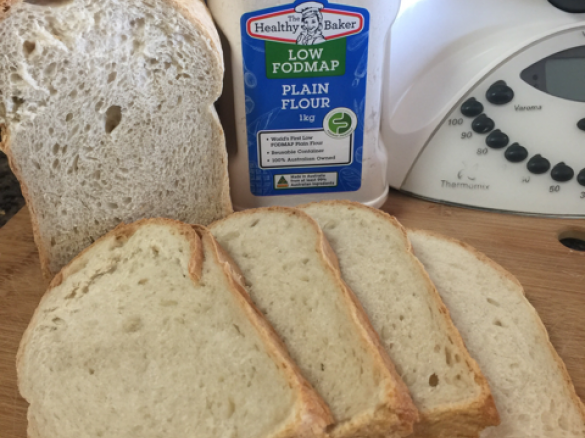
- 600 grams Bakers Flour or Bread Flour
- 2 teaspoon Yeast
- 2 teaspoon salt
- 1 teaspoon sugar
- 2 teaspoon bread improver, a natural one is best
- 15 grams oil
Accessories you need
-
 Spatula TM5/TM6
Share your activity
I'm cooking this todayRecipe's preparation
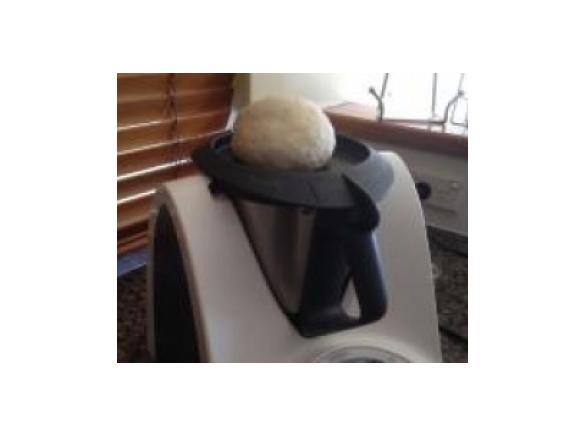
Place water, yeast and sugar into mixing bowl and heat 1 min and 30 seconds /37C/speed 2
Add flour, salt, bread improver and oil.
Knead 6 min/
 "Closed lid" Interval setting

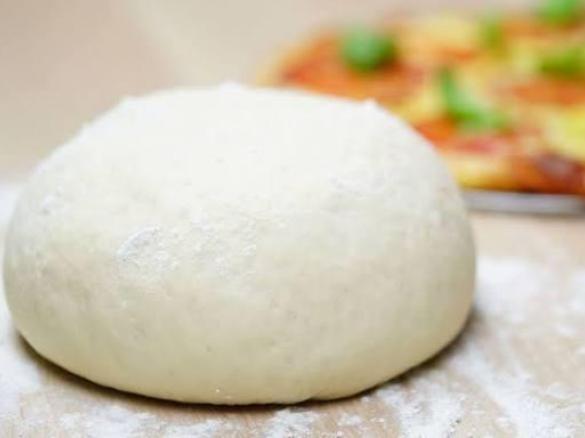
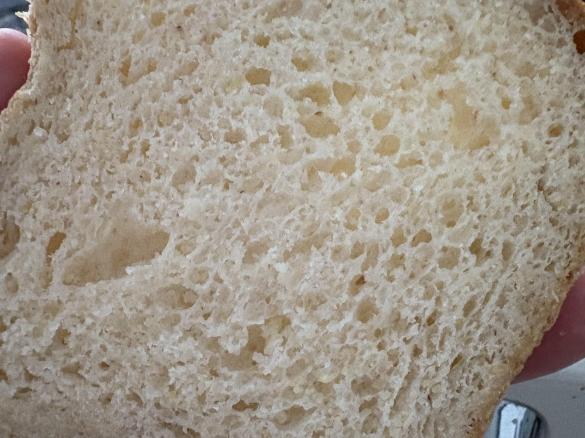
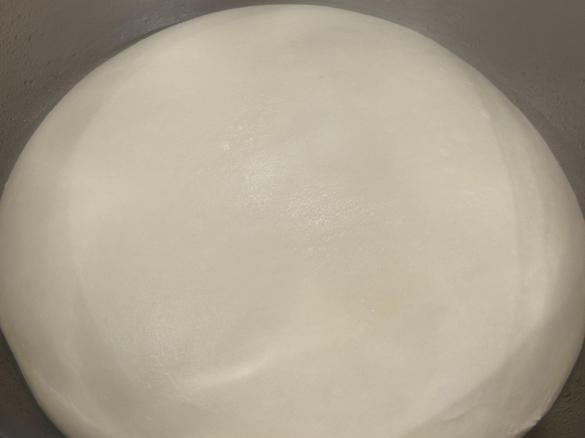
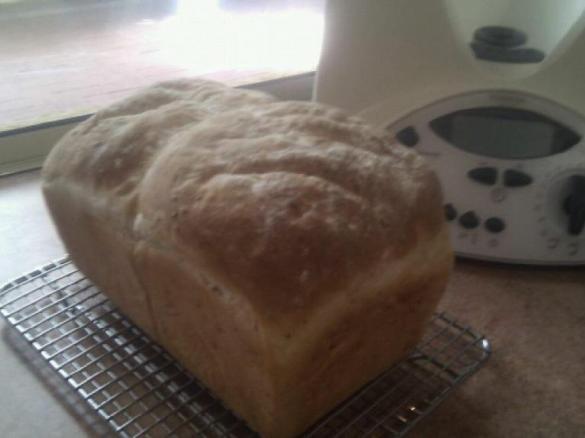
Either leave dough in warm mixing bowl, or place in an oiled bowl and cover with cling film. Place bowl in a warm place and leave until doubled in size. This could take at least an hour depending on weather.
some tips to assist with rising in colder weather -
- warm your thermoserver with hot water - rinse and dry - place dough in thermoserver to rise.
- heat a heatpack and sit bowl on warm heatpack to assist with rising.
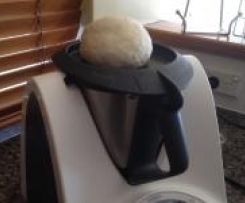
Once risen, if dough still in mixing bowl knead 30 sec/
 "Dough mode" or knock back by hand.
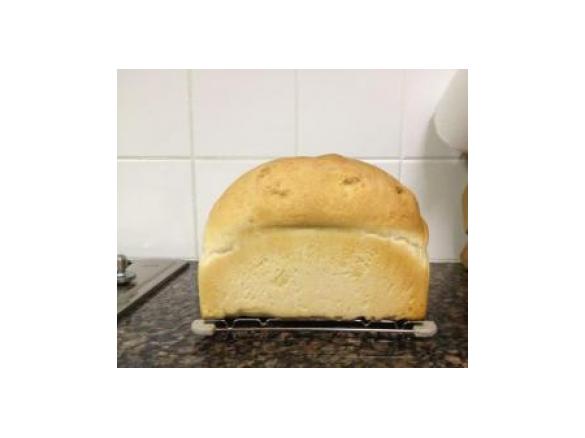
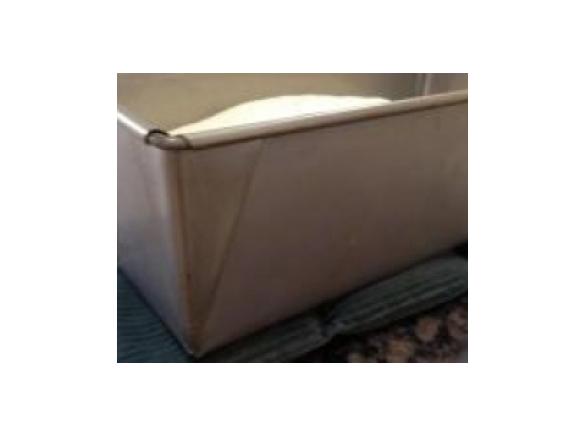
Roll and shape to fit in tin. Spray with water and leave to rise until dough reaches top of tin.
Place into a cold oven and set to 200C fan forced.
placing dough into a cold oven gives the dough a little bit more rise as the oven heats up
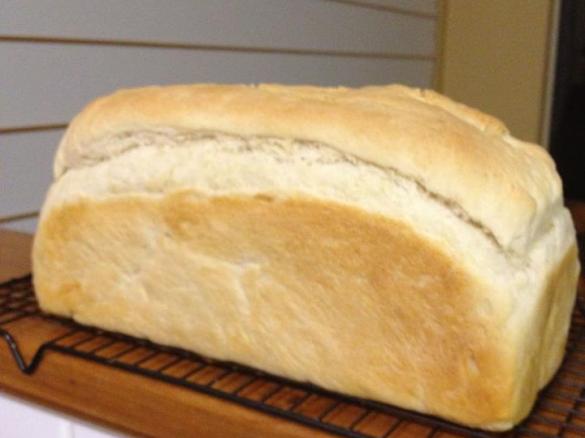
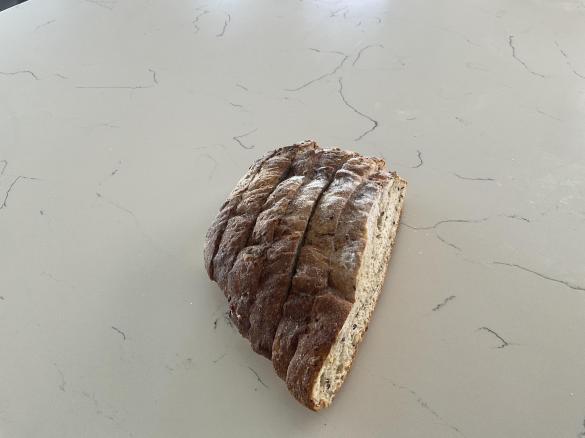
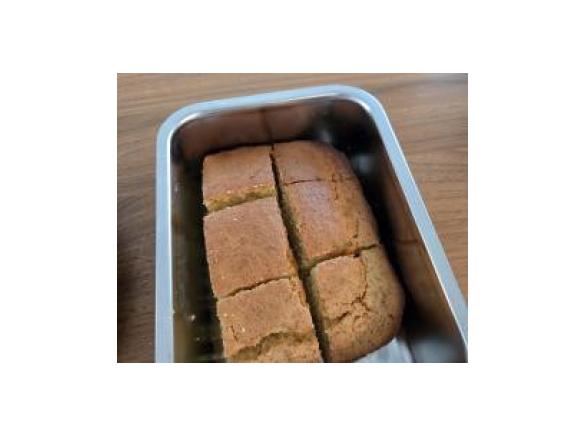
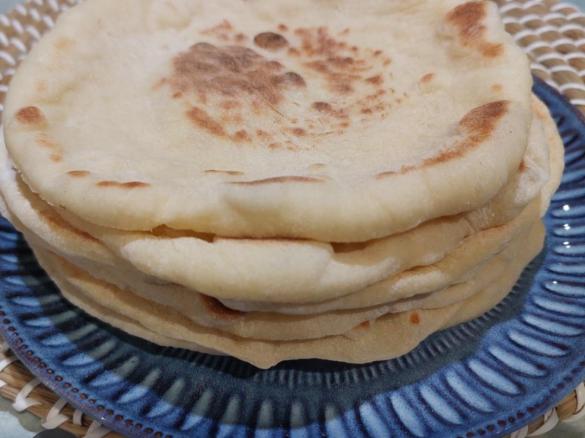
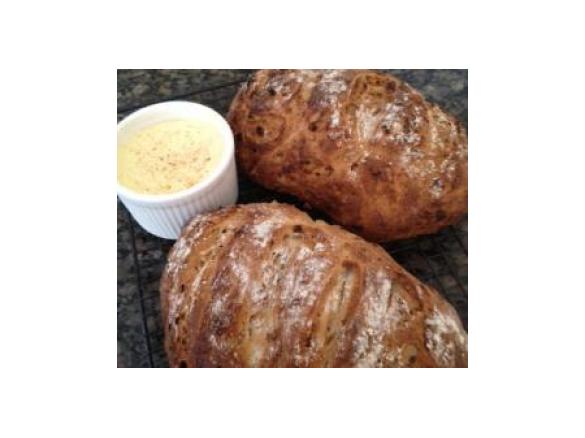
Cook 30 min, remove from tin and place back into oven for a few minutes for a crunchy crust.
placing a dish of water into the bottom of the oven will also help to give a crisper crust.

Tip
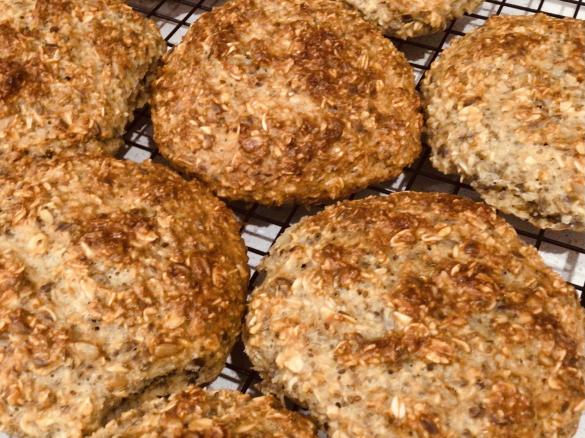
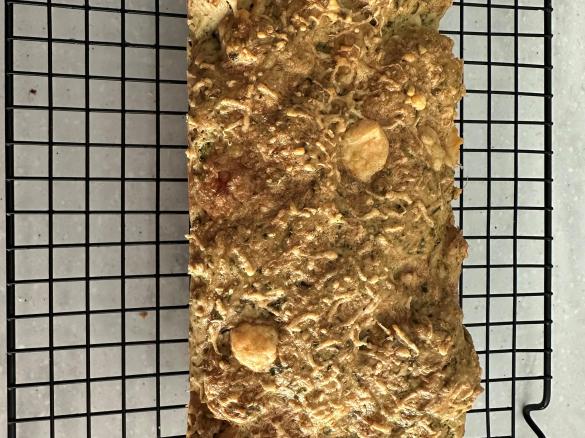
You could substitue out some white flour for wholemael flour, or add grains or seeds.
This recipe can made successfully in a all Thermomix Models
Thermomix Model
-
 Recipe is created for
TM 6
For cooking (simmering) at temperatures of 95°C or above (200°F), the simmering basket should always be used instead of the TM6 measuring cup, as the TM6 measuring cup fits tightly in the lid. The simmering basket rests loosely on top, is steam-permeable, and also prevents food spatter from the mixing bowl. -
 Recipe is created for
TM 5
If you are using a Thermomix® TM6 measuring cup with your Thermomix® TM5:
For cooking (simmering) at temperatures of 95°C or above (200°F), the simmering basket should always be used instead of the TM6 measuring cup, as the TM6 measuring cup fits tightly in the lid. The simmering basket rests loosely on top, is steam-permeable, and also prevents food spatter from the mixing bowl.Please note that the TM5 mixing bowl has a larger capacity than the TM31 (capacity of 2.2 liters instead of 2.0 liters for TM 31). Recipes for the Thermomix TM5 may not be cooked with a Thermomix TM31 for safety reasons without adjusting the quantities. Risk of scalding by spraying of hot liquids: Do not exceed the maximum filling quantity and observe the filling level markings of the mixing bowl!
-
 Recipe is created for
TM 31
-
 Recipe is created for
TM 21


This recipe was provided to you by a Thermomix ® customer and has not been tested by Vorwerk Thermomix ® or The Mix Australia Pty Ltd and The Mix New Zealand Ltd.
Vorwerk Thermomix ® and The Mix Australia Pty Ltd and The Mix New Zealand Ltd assume no liability, particularly in terms of ingredient quantities used and success of the recipes.
Please observe the safety instructions in the Thermomix ® instruction manual at all times.


Comments
Angela j: I found it dense also, anyone have any tips how to correct this?
This is the fourth time that I've used this recipe. It's so easy to make. Definitely my go to recipe. Today I made two loaves of bread and they came out beautifully. Yes, we had to have two thick slices of butter fresh out of the oven . Yummy 🤤🤤
The Bread improver in my supermarket is a combination yeast and bread improver - so given this fact how much yeast and bread improver would I need to use please?
Love this recipes, it's made a beautiful soft loaf of bread. I also love the tip to speed up the proof process!
I used apple cider vinegar as my improver and also rolled into two balls and placed one at each end of the loaf tin.
Sliced the full loaf and froze half for toast!
Not the type of bread I was trying to achieve was way more dense than what I was thinking still a good taste though , but couldn't use for sandwiches! Maybe I was suppose to cook with lid off ??
I like the idea of having fresh bread for first thing in the morning, so this is where a bread maker has always appealed to me. In saying this, can anyone tell me if I were to make the dough the night before in the thermo, let it prove overnight and then in the morning pop into the tin and bake...will this work? Or would overnight be too long proving? Thank you. Love the idea of giving kids fresh bread for breakfast or making lunch.
SwissMixer: Google gave me this answer: "Bread improver is an unflavoured acidic substance. You can substitute with citric acid, vinegar or even orange juice for bread improver."
perosnally, I would also use the sugar recommended in the recipe too, which will help the yeast. So, add an acid and sugar and I'd say that will work. But I've also made the dough without improver and it turned out well.
Thanks for the recipe. Have made it twice in 2 days as my daughter ate the first loaf all on her own
I have made this quite a few times and never had a failure. Thank you for sharing!