


Preparation time
1h 30min
Total time
2h 0min
Portion
12
slice(s)
Level
easy

Ingredients
Medium Multigrain Loaf
- 350 g water
- 1.5 teaspoons sugar
- 1 sachets dried instant yeast & bread improver, (7g sachet)
- 1.5 teaspoons salt, fine
- 1 tablespoons oil, (vegetable or olive)
- 500 g wholemeal flour
Accessories you need
-
 Varoma
 -
 Spatula TM5/TM6

Share your activity
I'm cooking this todayRecipe's preparation
- Add all the ingredients to the bowl.
- Kneed for 6 minutes on dough function
 "Dough mode"
 - While the dough is kneeding, lightly grease and flour a medium size loaf tin (see tips).
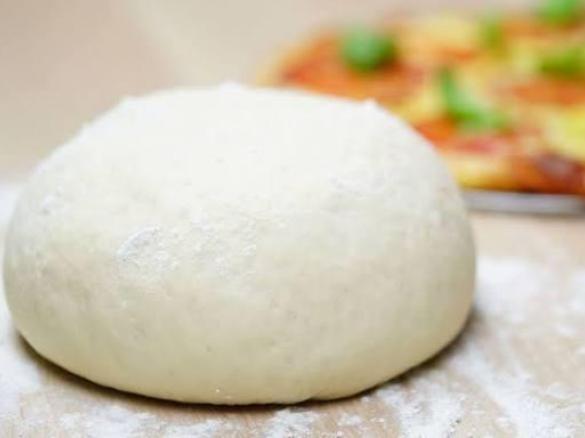
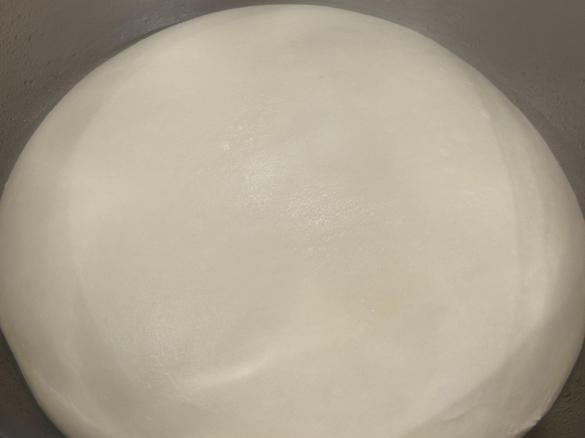
- Once the kneeding is finished, turn the dough out on to a silicone mat (see tips). Wrap the dough in a silicone bread mat and leave to proof for at least 30 mins (see tips), or until it has doubled in size.
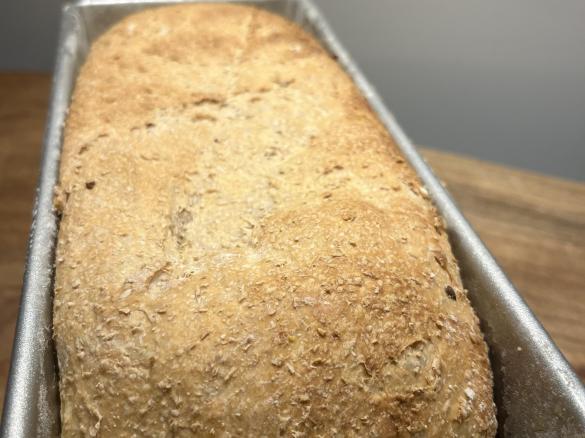
- Once the dough has doubled in size return it to the bench and shape it in to a loaf shape. At this stage it will not fill the tin from end to end, but place this mini loaf in to the tin and then repeat proofing process until the loaf reaches the top of the tin.
- Pre-heat the oven to 180c degrees fan forced.
- Once the dough has risen to the top of the tin place the tin in to the oven on the middle shelf with a small bowl of cold water. The steam from the water helps the bread to rise whilst cooking.
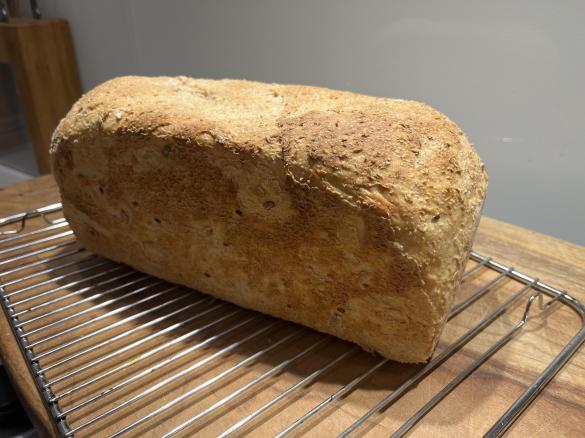
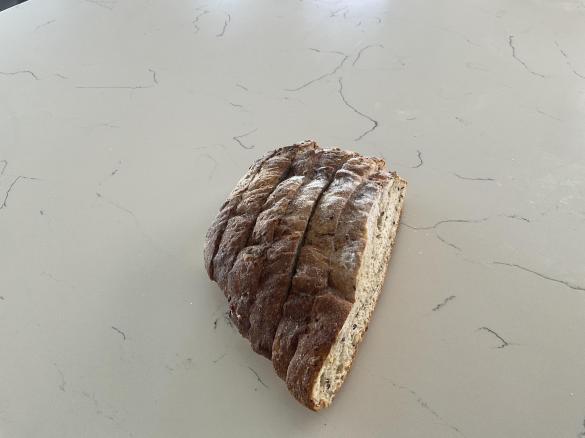
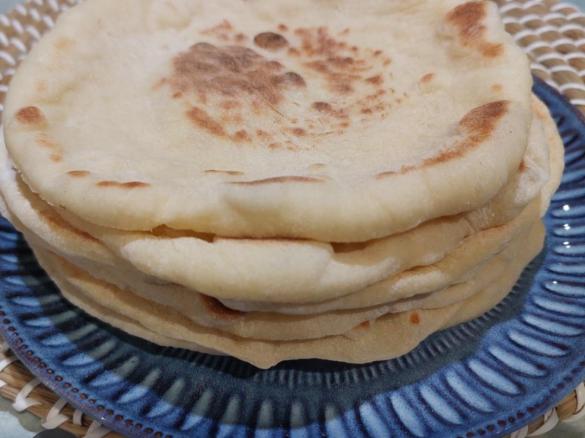
- Bake for 30 mins or until the bottom of the loaf sounds hollow when tapped. Your bread is now ready to enjoy!
Preparing the Dough
Baking the Bread
Tip
For yeast and bread improver I use 1 x 7g sachet of the Lighthouse branded Dried Instant Yeast and Bread Improver. This could be replaced with 2 tsp of dried instant yeast plus 1.5 tsp of bread improver.
To assist with proofing, place dough in a silicone mat in Varoma dish. Place Varoma dish over a Thermoserver (or bowl) of boiling water and cover with a tea towel. The moisture and heat helps the dough to rise.
To remove dough from Thermomix bowl, turn the bowl upside down on a silicone mat and turn the knob on the bottom of the bowl (which turns the blades) in one direction until the dough falls on to the bench.
If any dough remains stuck around the blades put the lid back on and blast it for 10 seconds and speed 10. The remaning dough in the bowl will fly off the blades so that you can easiy scrape it off and use it in your bread making.
I use a 2.8L loaf tin for this recipe and I wait to cook the loaf until it has risen to the top of the tin. The length of time that this takes depends on the weather and the temperature in my kitchen, but it is on average an hour.
Thermomix Model
-
 Recipe is created for
TM 6
For cooking (simmering) at temperatures of 95°C or above (200°F), the simmering basket should always be used instead of the TM6 measuring cup, as the TM6 measuring cup fits tightly in the lid. The simmering basket rests loosely on top, is steam-permeable, and also prevents food spatter from the mixing bowl. -
 Recipe is created for
TM 5
If you are using a Thermomix® TM6 measuring cup with your Thermomix® TM5:
For cooking (simmering) at temperatures of 95°C or above (200°F), the simmering basket should always be used instead of the TM6 measuring cup, as the TM6 measuring cup fits tightly in the lid. The simmering basket rests loosely on top, is steam-permeable, and also prevents food spatter from the mixing bowl.Please note that the TM5 mixing bowl has a larger capacity than the TM31 (capacity of 2.2 liters instead of 2.0 liters for TM 31). Recipes for the Thermomix TM5 may not be cooked with a Thermomix TM31 for safety reasons without adjusting the quantities. Risk of scalding by spraying of hot liquids: Do not exceed the maximum filling quantity and observe the filling level markings of the mixing bowl!


This recipe was provided to you by a Thermomix ® customer and has not been tested by Vorwerk Thermomix ® or The Mix Australia Pty Ltd and The Mix New Zealand Ltd.
Vorwerk Thermomix ® and The Mix Australia Pty Ltd and The Mix New Zealand Ltd assume no liability, particularly in terms of ingredient quantities used and success of the recipes.
Please observe the safety instructions in the Thermomix ® instruction manual at all times.
Other users also liked
Show me similar recipes by:


Comments