
- TM 31

Ingredients
Dough
- 340 g water, see Tips
- 240 g Sourdough starter, See Tips
- 350 g bread flour
- 270 g bread flour or white/wholemeal spelt
- 15 g sugar
- 2 1/2 tsp fine salt
- 1/4 tsp citric acid, (gives extra tartness, up to 1/2 tsp if desired)
- Seeds of choice
Accessories you need
-
 Spatula TM5/TM6
Share your activity
I'm cooking this todayRecipe's preparation
Warm water to 37C for a few minutes and add "active" (see Tips) Sourdough Starter and 350g of flour. Mix 20 seconds Speed 6.
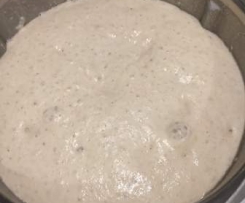

Leave covered at room temperature undisturded for about 4 hours (this will depend on your kitchen temperature) to activate. You can leave it in TM Bowl with MC in place if desired or move to a lighlty oiled bowl/plastic bag.
See Tips on Sourdough rising temperature preferences.
Place covered TM Bowl/bag/bowl into refridgerator 10 -16 hours to slow down fermentation (this gives good flavour, improves texture, aids digestion and lengthens storage).
Remove from fridge, add remaining ingredients (incuding flavourings if desired - see Tips) and Knead 6 minutes.
NB: If you used your TM Bowl in the fridge allow it to come back to almost room temperature and wipe off condensation on the bowl to ensure you don't get a "wet pins" communication message.
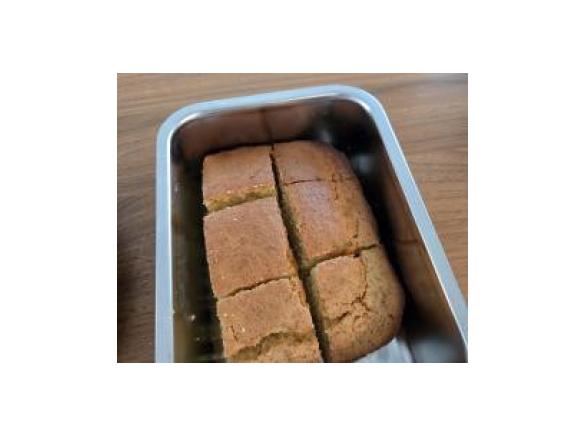
For FREEFORM follow the details steps in sequence below OR for a LOAF TIN - scrape dough into tin, cover (jump to Step 9) and leave to rise completely before baking. NB: LLine your tin if you added dried fruit as it will stick!
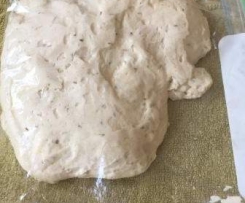
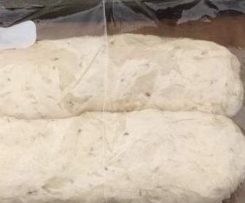
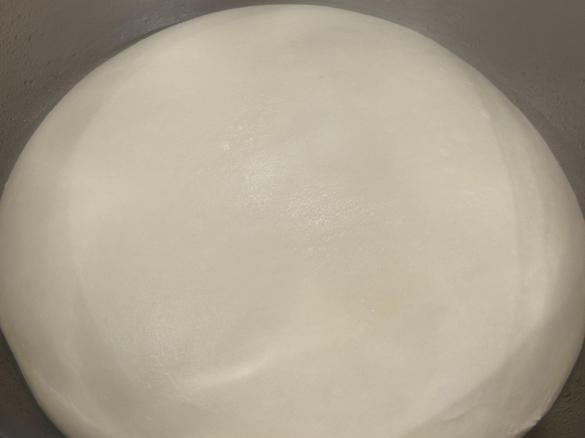
Using lighlty oiled fingers move dough to a lightly oiled plastic bag/bowl and rest 2 -5 hours until smoothed out and risen. NB: Ensure resting surface isn't cold, I place mine on a tea towel or bread board.
The amount of lift and time for rising will depend on the vigor of your Starter and your room temperature. See Tips.
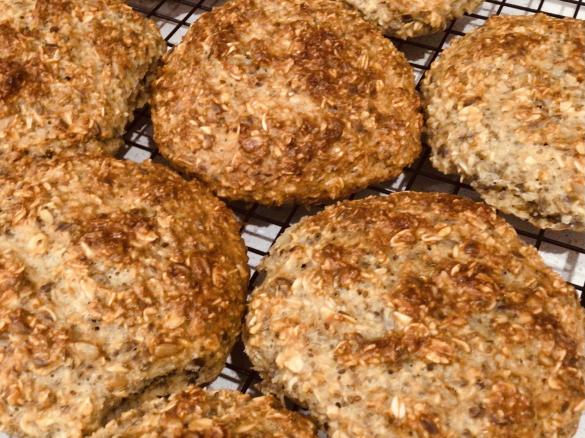
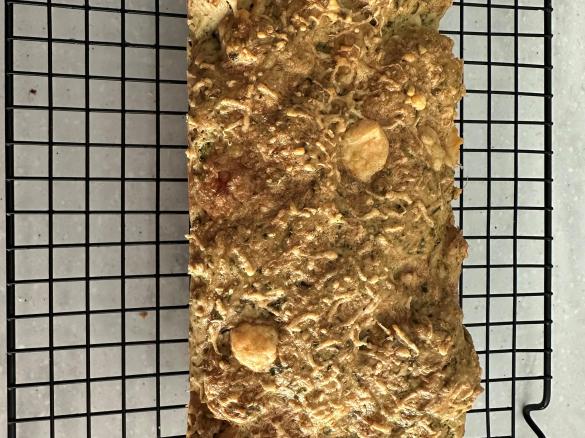
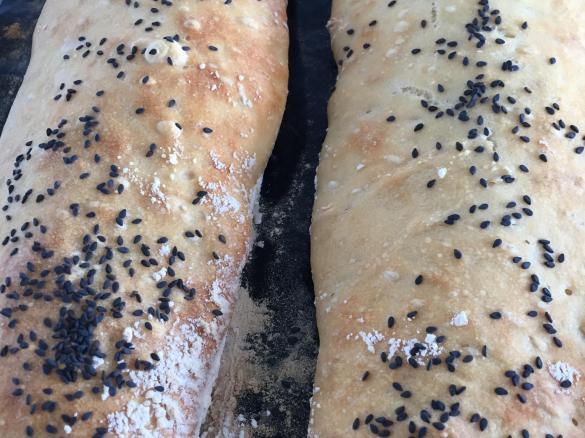
Gently divide dough into preferred size pieces by cutting (do NOT pull!), lightly shape with oiled hands and place well spaced on a ThermoMat/baking paper lined tray.
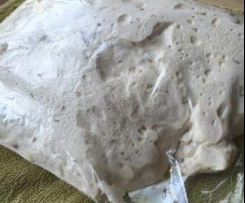
Cover the tin/tray (I use the slit oiled plastic bag) and allow to rise 2-4 hours until 1 1/2 times larger - the freeform shapes may spread more than lift and that's OK.
For this step you can stand the tray/tin over a sink of hot water if time/temperature are working against you.
Pre Heat oven to 220C Fan Forced with rack height positioned at bottom 1/3.
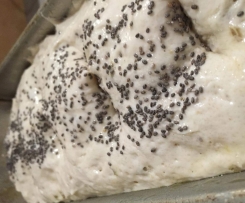
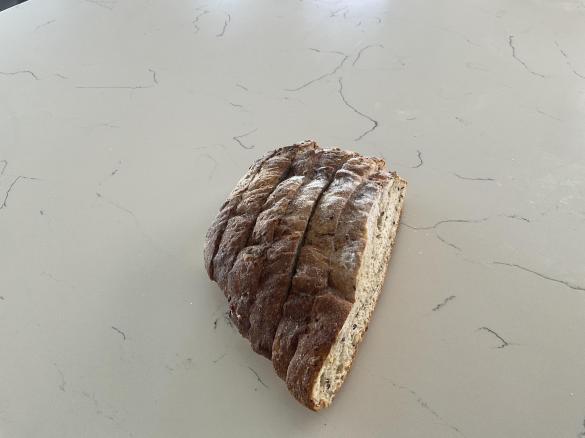
Sprinkle with seeds if desired. Spray the dough generously with lukewarm water (I use the ironing bottle). Slash two deep lines (serrated knife works well or if your not confident use kitchen scissors to do a few deep snips).
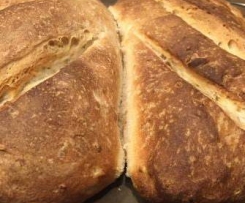
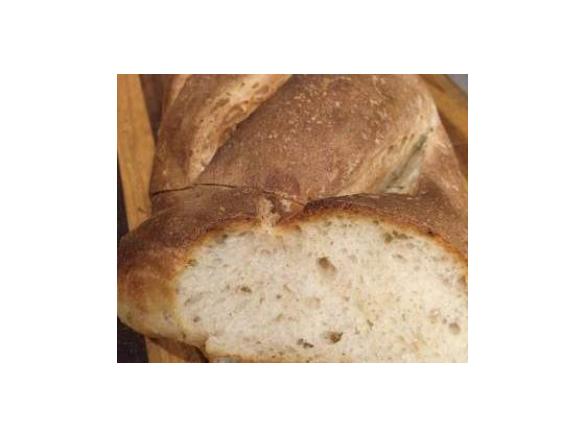
Quickly place into oven and bake 25 -35 minutes until a deep golden colour and sounds hollow when tapped. NB: Smaller shapes will be less time than a full tin loaf.
If you have a temperature probe - 94C is baked.
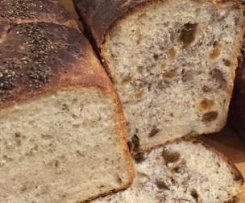
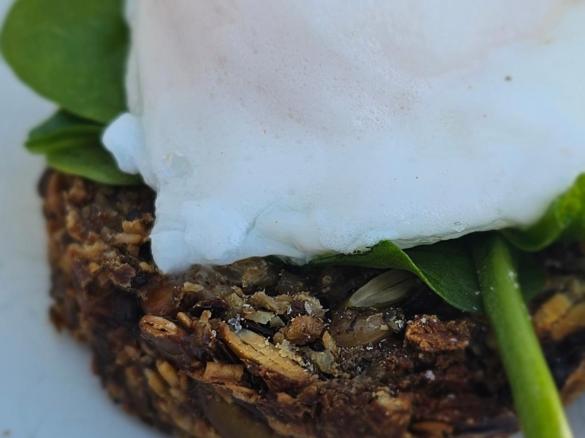
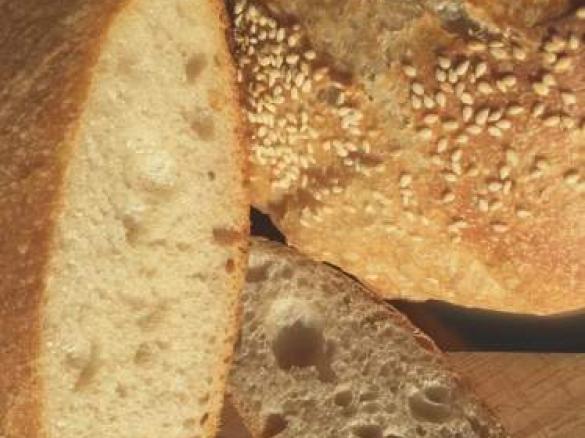
Tip onto cooling rack and do not slice until completely cool - approximately 1 hour.
Store either lighly covered (bread tin with airflow, tea towel etc) or cut side down on the bench if possible depending on your kitchen conditions. Mine keeps for a week on the kitchen bench and is good for slicing/toasting if the A/C isn't running.
Do NOT refridgerate!
Can be sliced, wrapped in foil and frozen if desired.
Day One

Baking Day
Tip
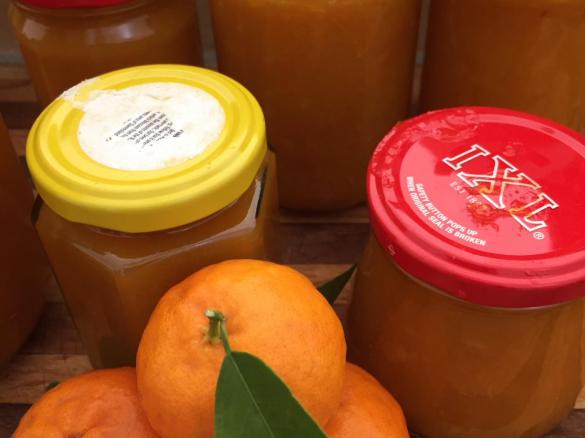
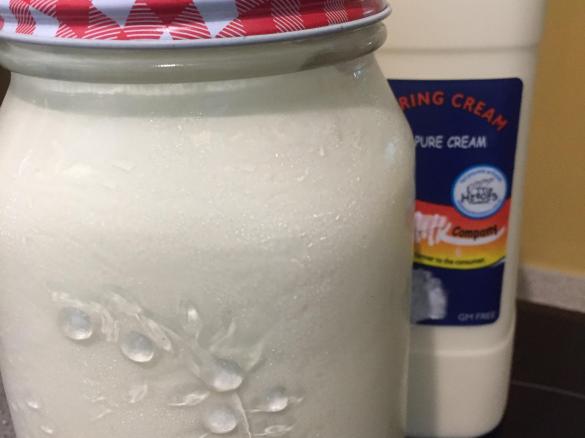
Sourdough Starter 101 (aka 'mother', 'levain' or 'preferment') is a traditional way of rising dough using naturally occuring yeasts in a mix of flour and water (usually 50/50). The Starter is often years old (there are some hundreds of years old!). They often have different characteristics and it's kept 'alive' by regular feedings of water/flour.
You can start your own (Google how to...it takes days/weeks to get it going) or the easiest thing is to grab some from a friend (I started mine in Feb 2015 and can assist in Adelaide) and there are some in supermarket/healthfood stores occasionally (I've not used these).
Your Starter is more vigorous the more often it's used/fed and you can store it in the fridge up to a couple of weeks before needing to give it a feed as the yeast "consumes" the starch carbohydrates in the flour.
If your Starter is a bit slow (eg been in fridge more than a week)....divide it down to 50g or so (you don't want to end up with a bucketful of it), feed it (50g water + 50 g bread flour = 150g of Starter), give it a rough stir, cover (large glass jar is good) and leave on bench to activate up and show decent bubbles then feed again (150g water + 150g bread flour = 450g of Starter). You can use the excess for extra loaves/pizza/crackers etc OR divide the mix in half and only "feed up" to what is maneageable for you to use.
Water is best if it's cool and either filtered or pre-boiled in kettle (that's what I do coz Adelaide water is quite chlorinated). Do NOT use spring/botted water as some contain high salt/mineral levels.
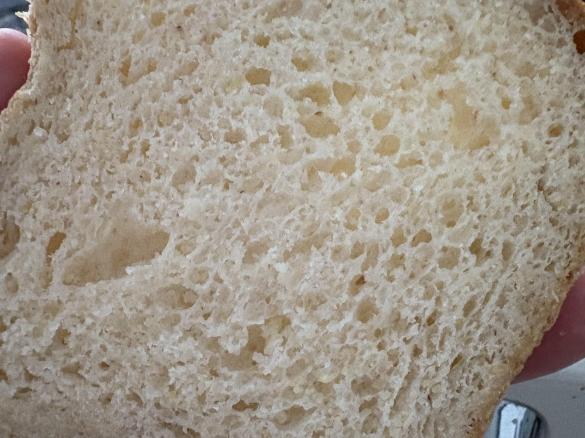
Temperature is much cooler for sourdough rising as this is what makes it digestivly "better" for many people, particularly in the initial steps before shaping and gives it the charcteristic texture/flavour. As all kitchens are different timing will be quite variable - go by how it looks more than the actual time. Some kitchens will need to add warmth, others will need to cool down the mix. 25C is the optimum temperature.
Flavour idea additions might include a couple of tablespoons of cumin or fennel seeds (my favourite), dried herbs, chilli, mixed spice, onion flakes or garlic flakes etc etc!!
Add nuts, olives, sun dried tomato, pumpkin pieces, dried fruit (consider cutting out the sugar in the recipe if usaing dried fruit) towards the end of the kneading and no more than 100g or so as they will weigh your dough down and you may find that the final rise takes a little longer.
Other Sourdough recipes I've posted here include Easy Sourdough Bread (less instructional steps!) with Sourdough Spelt Crackers and Sourdough Pizza (both good for using up 'discarded Starter').
Inspired by:
//www.kingarthurflour.com/recipes/extra-tangy-sourdough-bread-recipe
Thermomix Model
-
 Recipe is created for
TM 31

This recipe was provided to you by a Thermomix ® customer and has not been tested by Vorwerk Thermomix ® or The Mix Australia Pty Ltd and The Mix New Zealand Ltd.
Vorwerk Thermomix ® and The Mix Australia Pty Ltd and The Mix New Zealand Ltd assume no liability, particularly in terms of ingredient quantities used and success of the recipes.
Please observe the safety instructions in the Thermomix ® instruction manual at all times.


Comments
Great taste and texture even though I shortened the time (needed it for dinner). Did the 4 hours in thermi bowl but then skipped through to adding all ingredience, into round cake tin and proved with wheetie bag in microwave for 6 hours. cooked at 225 for 30 mins. thanks
Great to hear that you had success...... on all levels!
Awesom Bread Sharon! Whilst it takes two days to make, it is sooooo worth it! Step by step pic made it easy to see how I was going. Great for my sensitive tummy too